Create a static Drupal 7 site with the Quant module
For better security, performance, and hosting costs, learn how to create a static version of your Drupal 7 site using the QuantCDN module in this step-by-step guide.
Quant Search provides an easy way to add faceted Algolia search to your static websites. This step-by-step guide shows you how to add Quant Search to a static version of your Drupal 7 site for the best of static and search.
We know the many benefits of the static web. Fortunately, creating a static version of your Drupal site is easy. We’ve already covered how to do this for Drupal 7 and Drupal 8/9 with the Drupal QuantCDN module.
For both static and dynamic websites, search is a feature people expect. In Drupal, search is added in a variety of ways including Solr, Elasticsearch, or just using the Drupal database and Views. The Quant Search feature gives you the power to easily add faceted Algolia search pages to a static version of your Drupal site.
Here’s how to configure Quant Search for your Drupal 7 site.
Follow the Quant Drupal 7 tutorial to get your Drupal content into Quant.
Note, your Quant project must have search enabled which is an add-on feature. You can enable search in the Dashboard by editing the project and clicking the Enable Search checkbox.
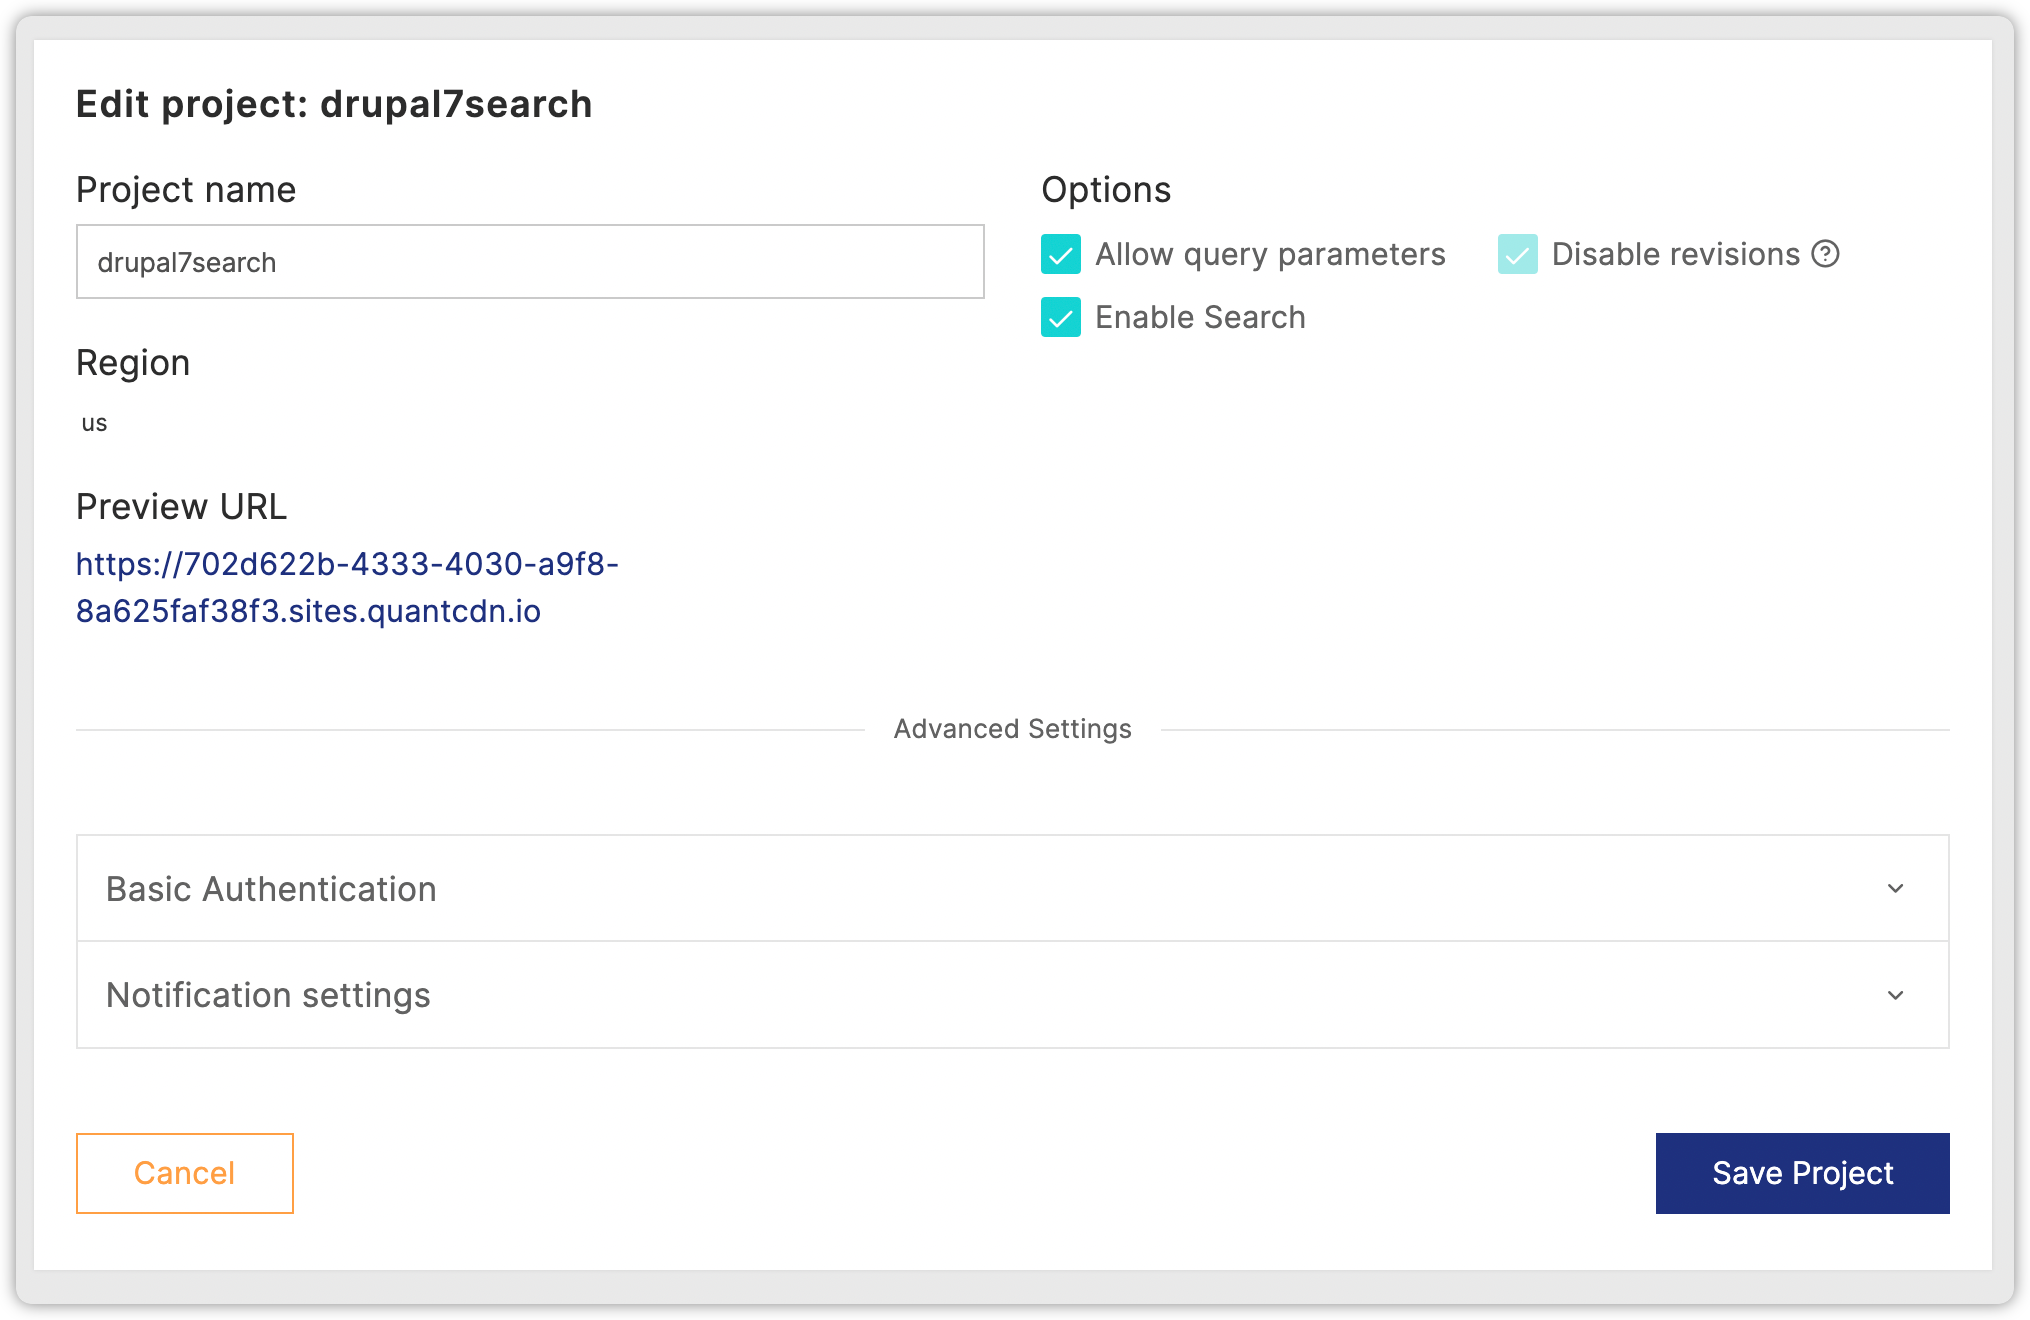
To get the full power of search, it’s best to already have vocabularies on your site and your content tagged. This will allow you to create facets on your search pages, so users can find content based on these taxonomy terms.
For example, you could add a blog page to your site that allows users to easily filter based on blog tags. Or, you could create a products page that lets users search by product categories. And, you can add a regular search page as well that can have facets like content types, languages, and tags.
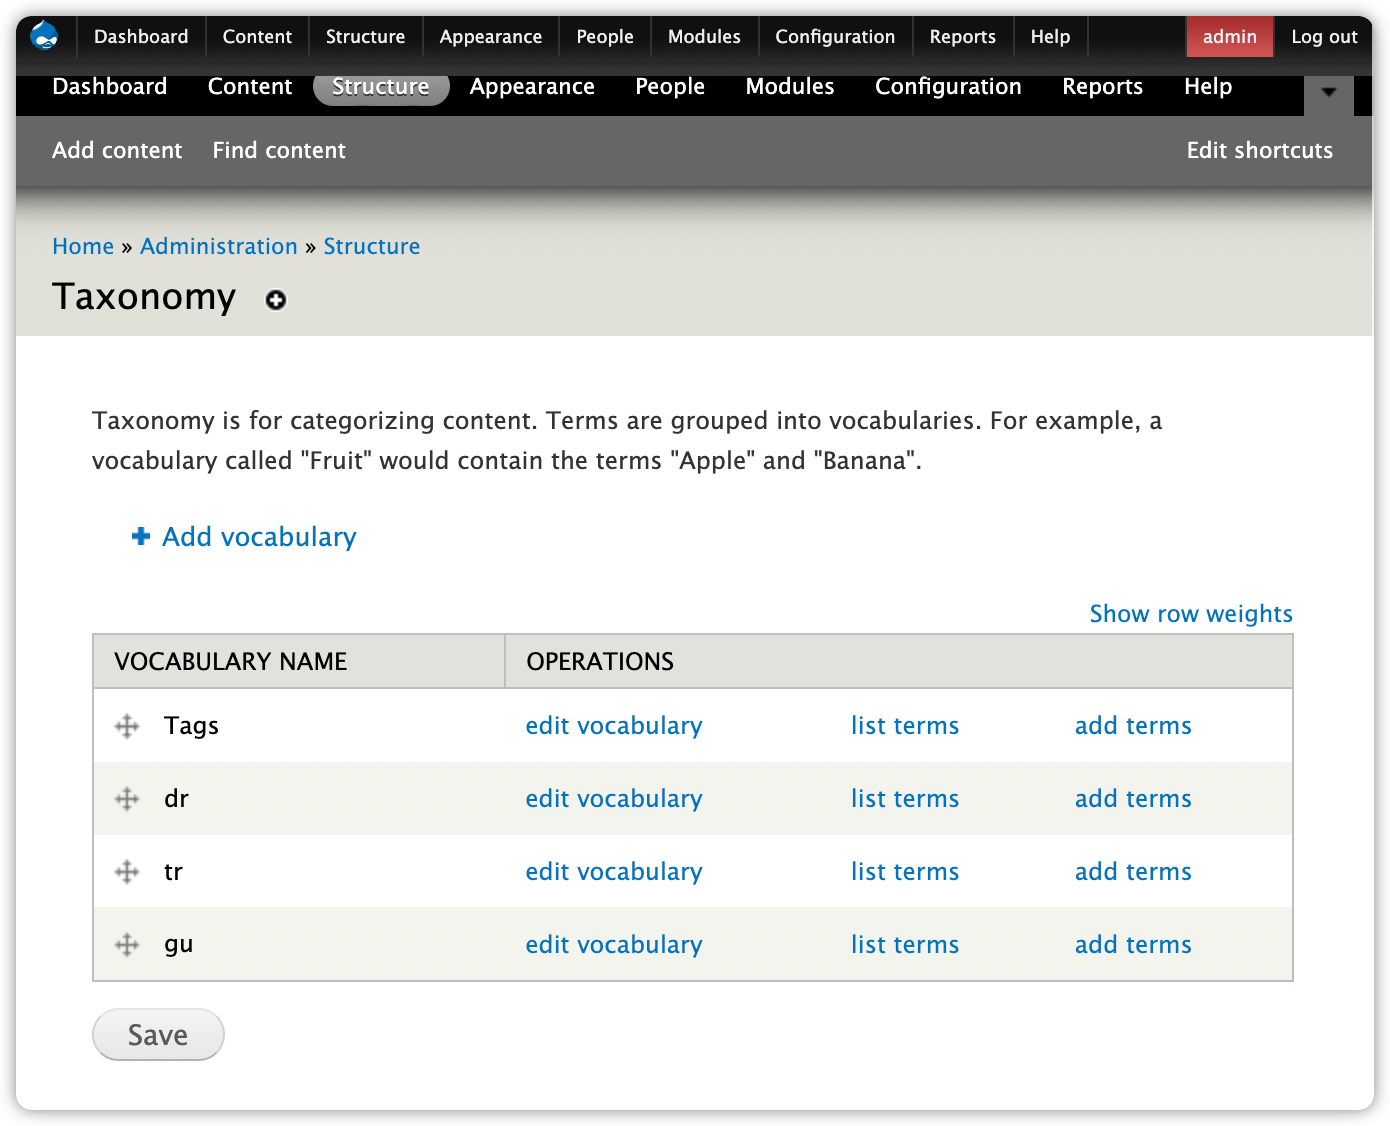
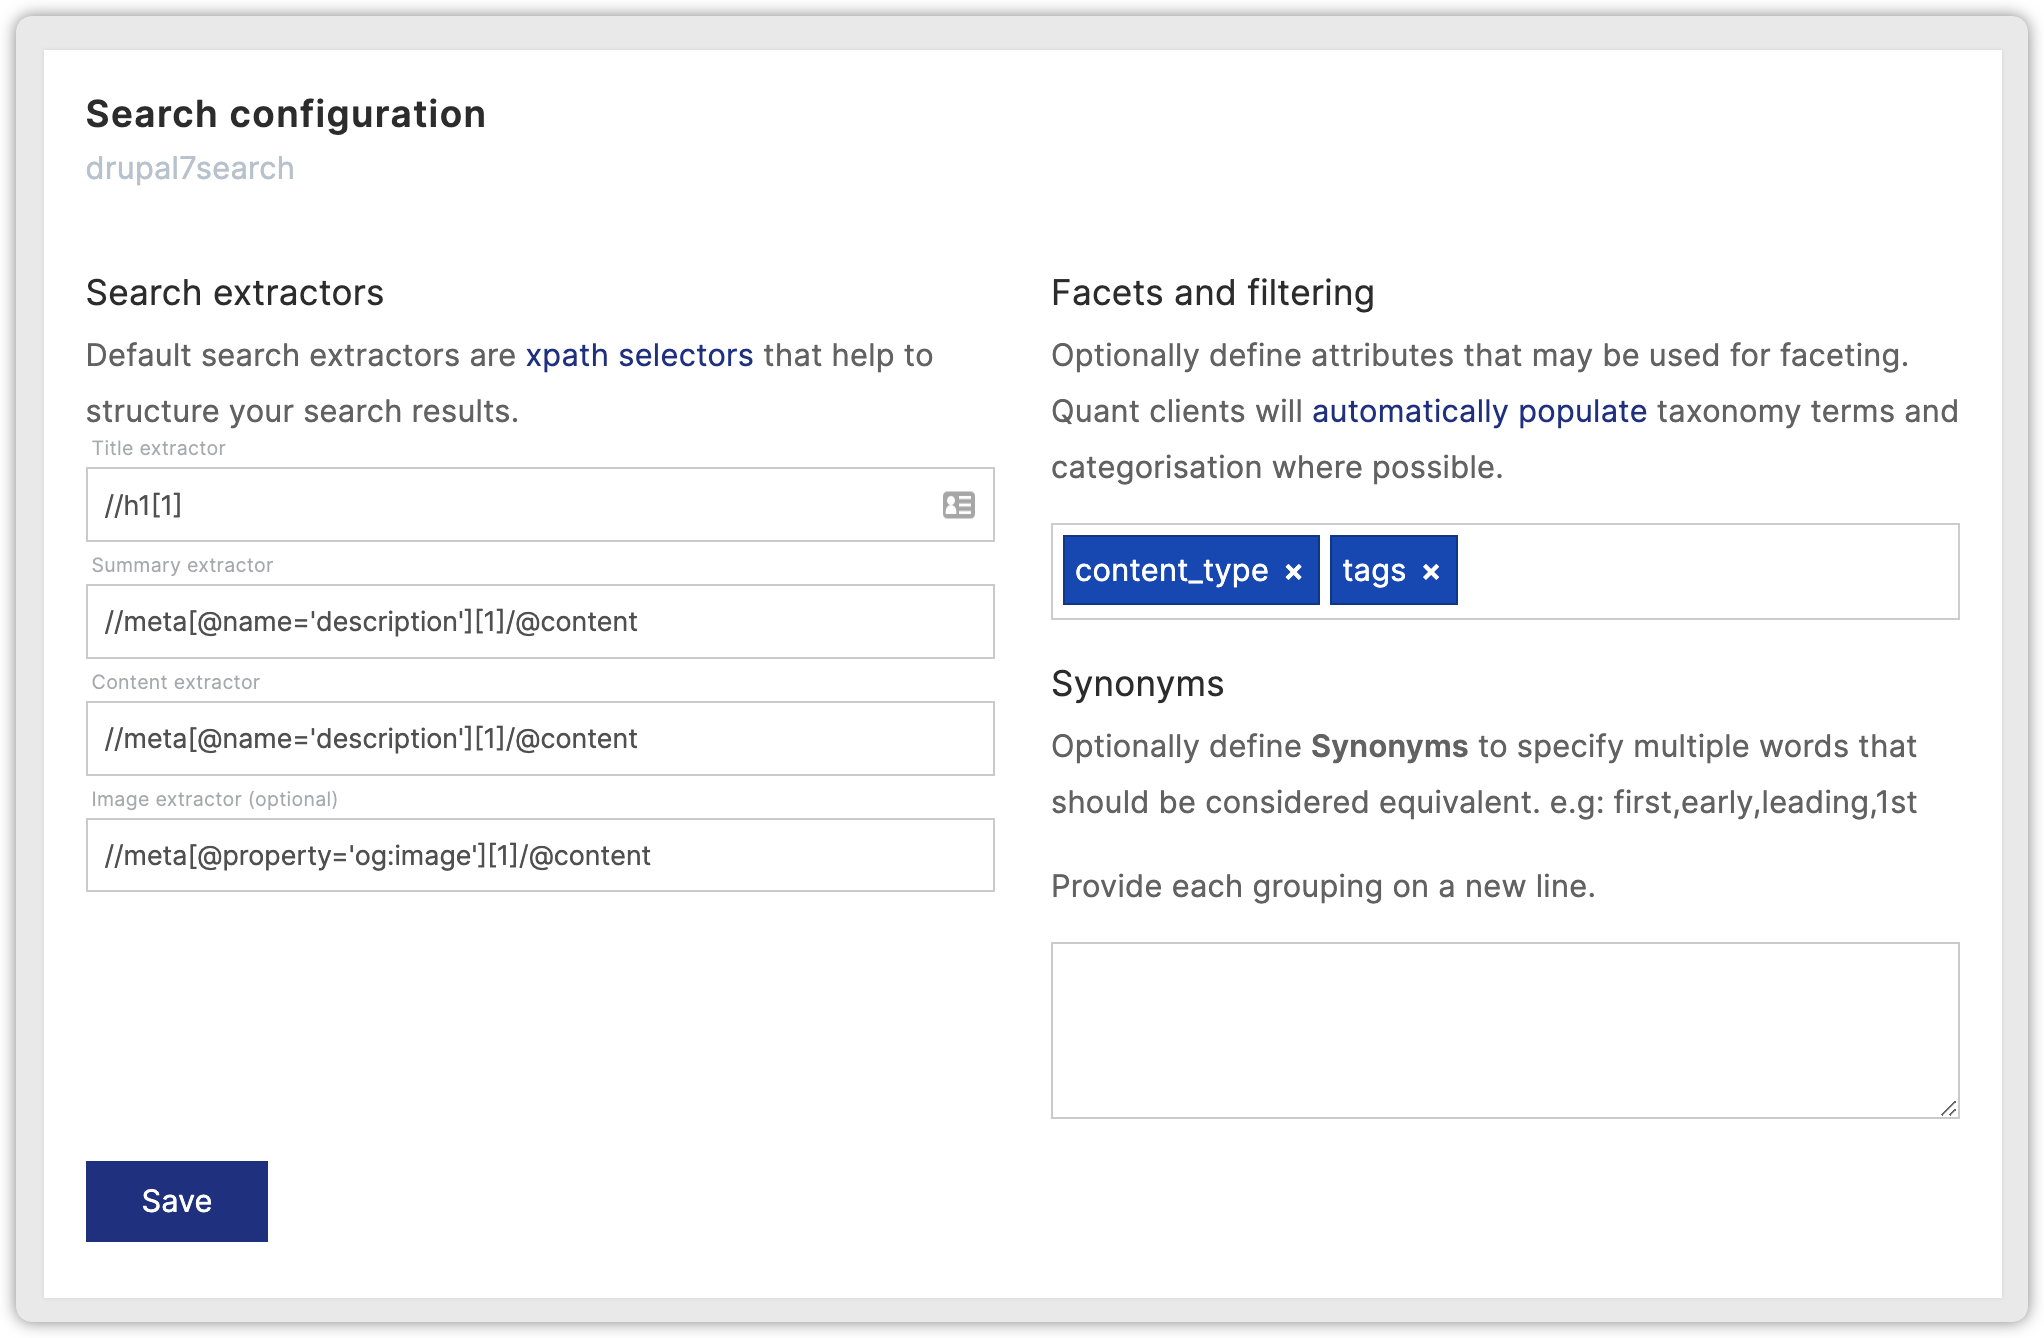
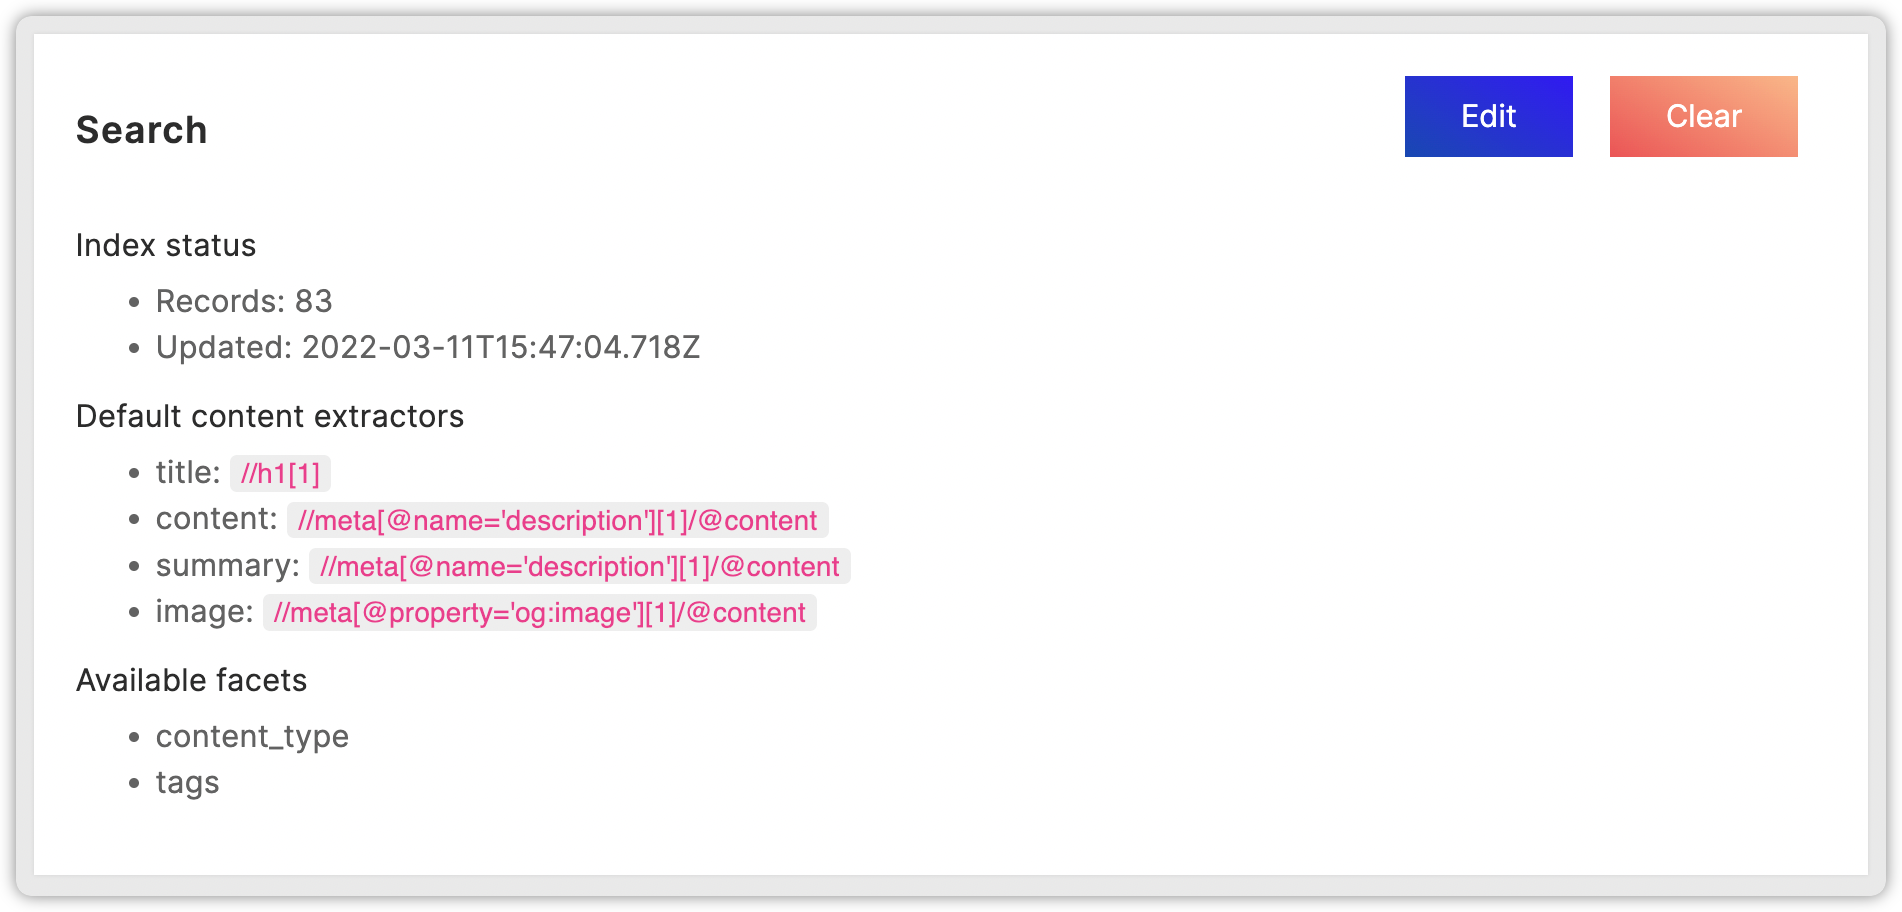
By default, Quant Search is set up to use the h1 of the page for the search result title and metatags (description and og:image) for the search result summary and optional image. See the Default content extractors on the Search settings page.
These extractors can be changed to be whatever you want. You just need to add the xpath information that corresponds to the content within the page. Check out this xpath cheatsheet.
For this tutorial, we’ll stick with the defaults.
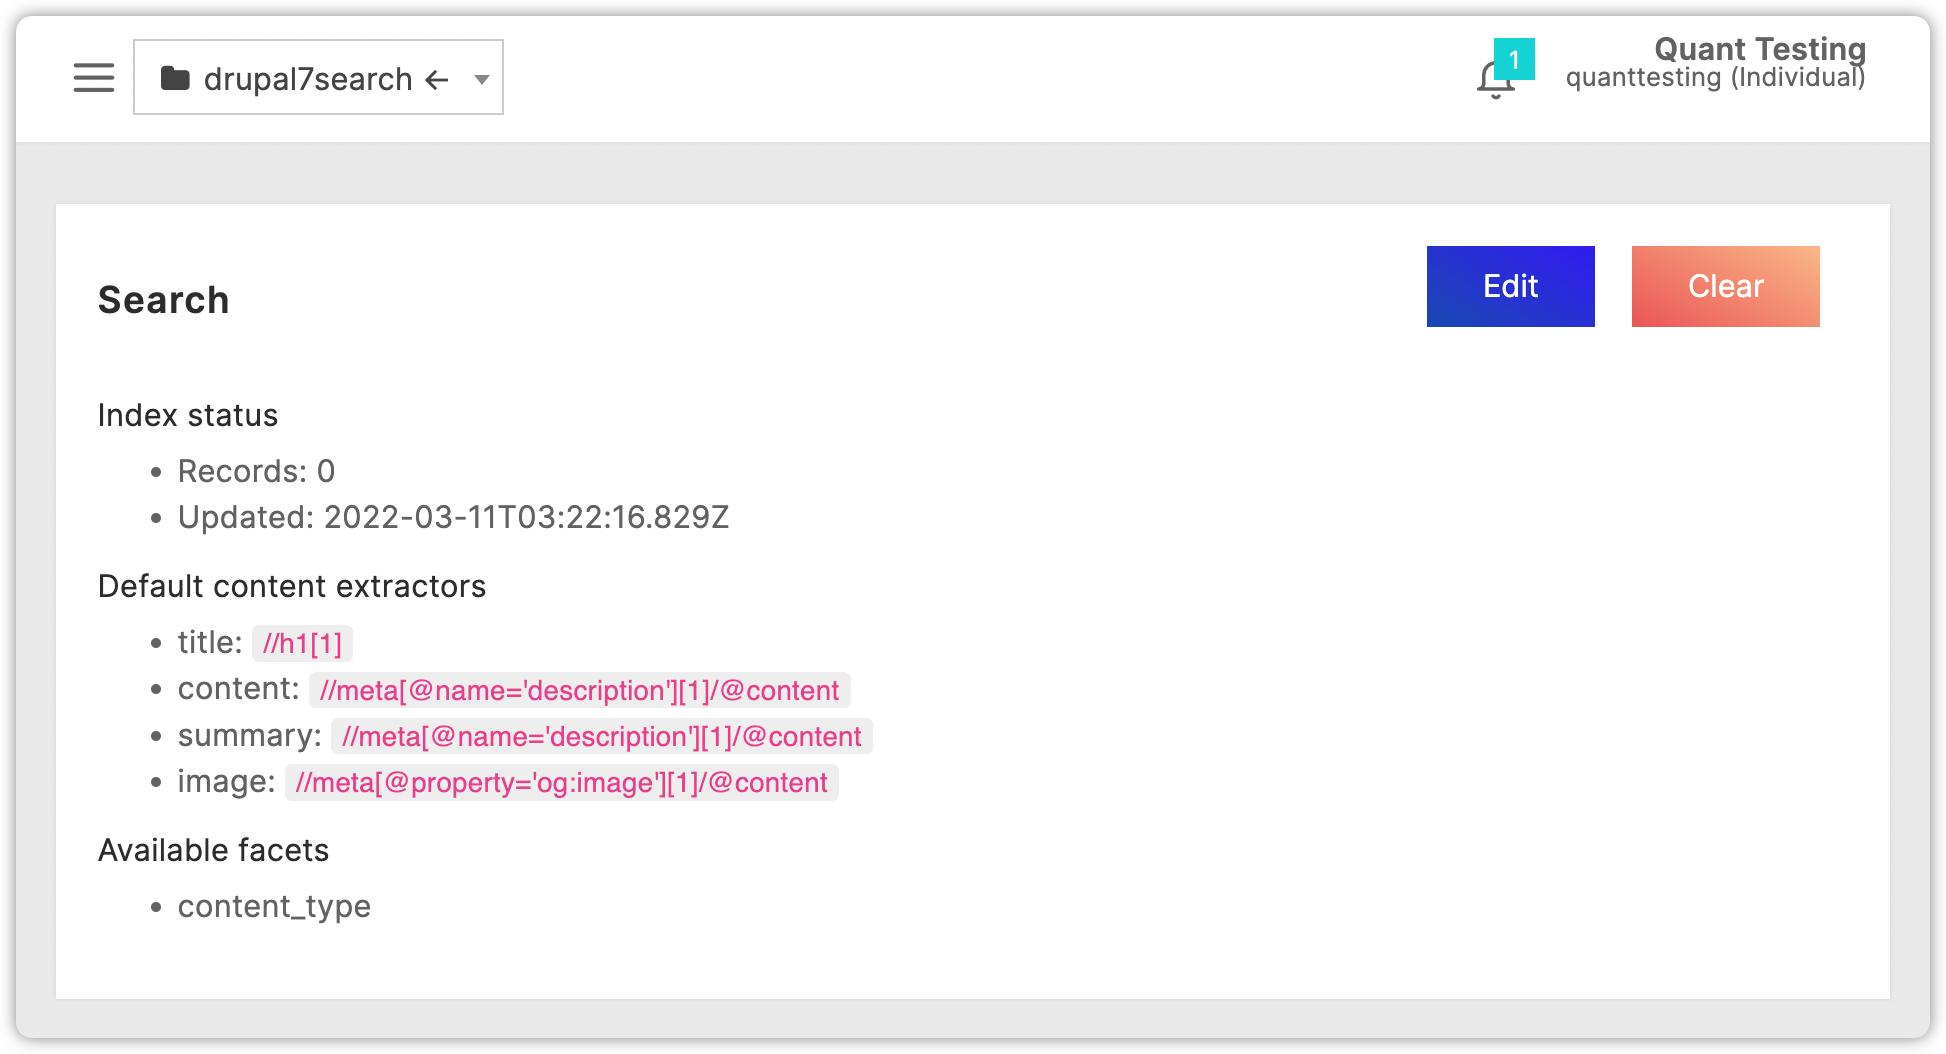
The h1 of the page is used for the search result title. If you have multiple h1s, the first one will be used. If you have no h1s, the content will not be indexed.
If the h1 is missing, the Drupal theme has likely been intentionally modified to remove the h1 from the page template. The theme should be updated to make sure at least one h1 is present and is the title of the content. This is important for SEO as well.
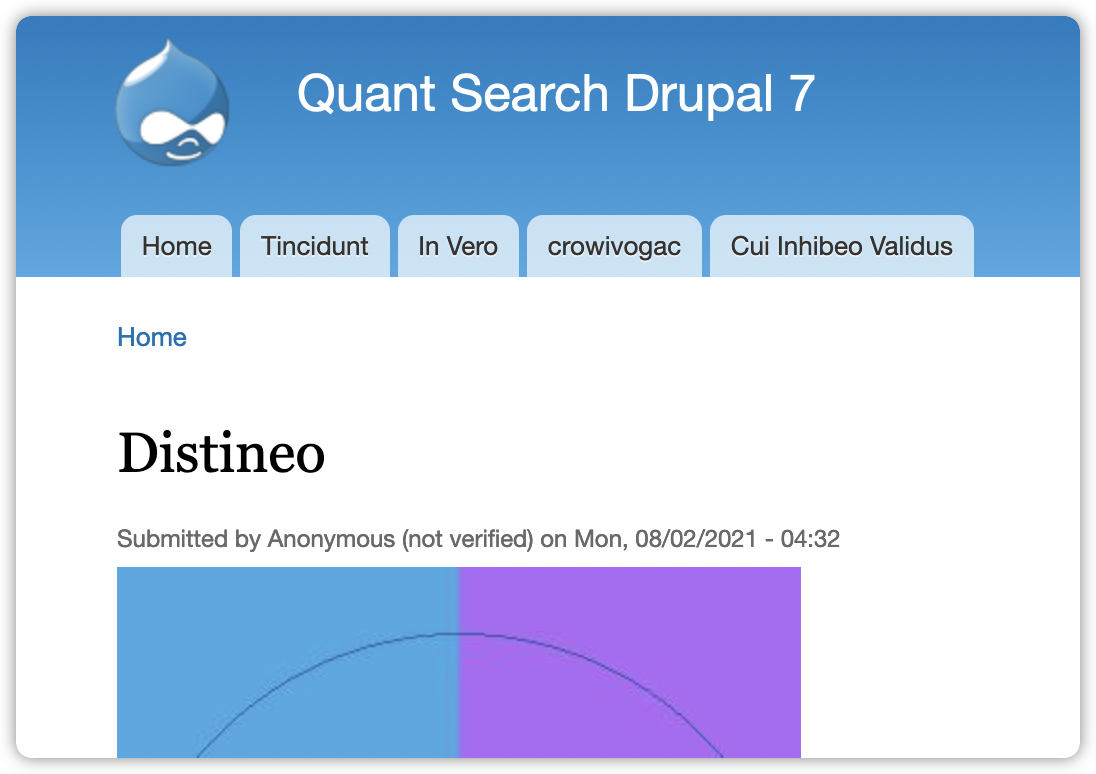
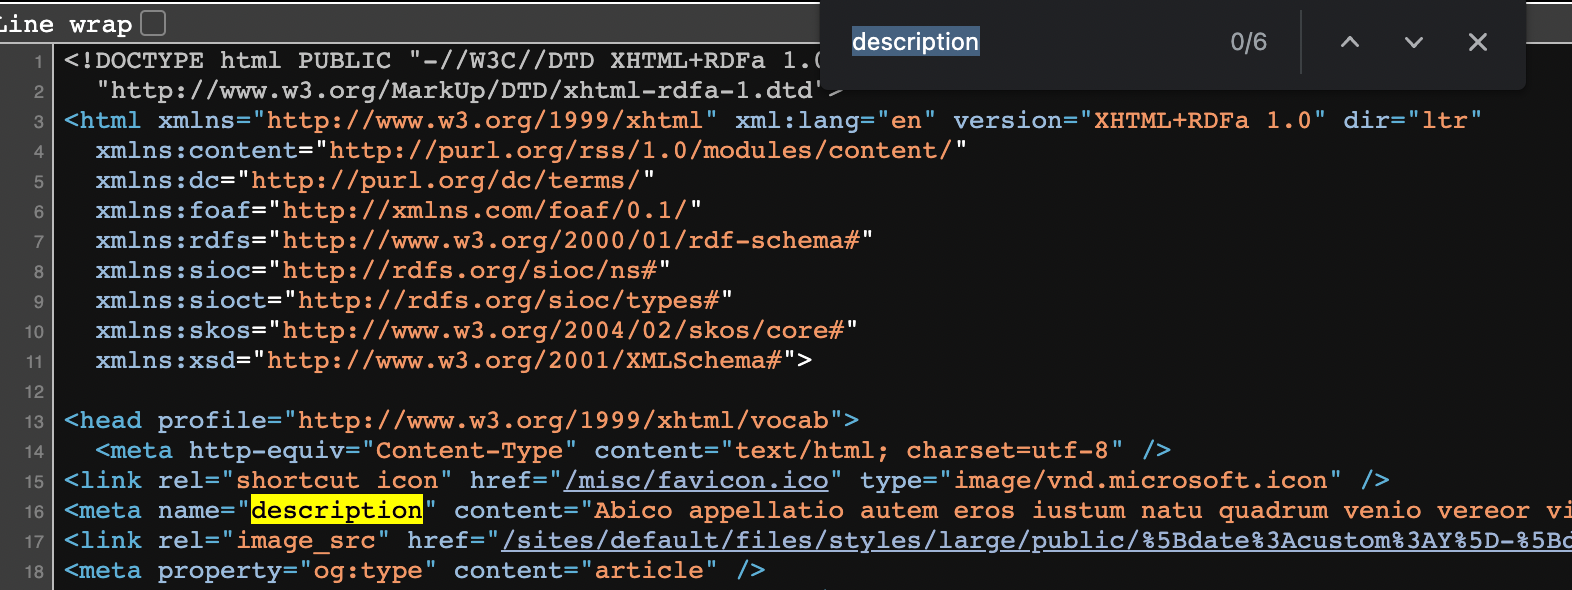
The meta description is typically added to Drupal sites using the Metatag module though it can be added programmatically with custom code as well. View the source code for a content page and make sure the meta description is showing up. If it's missing, make sure the metatag module is enabled. It might look something like:
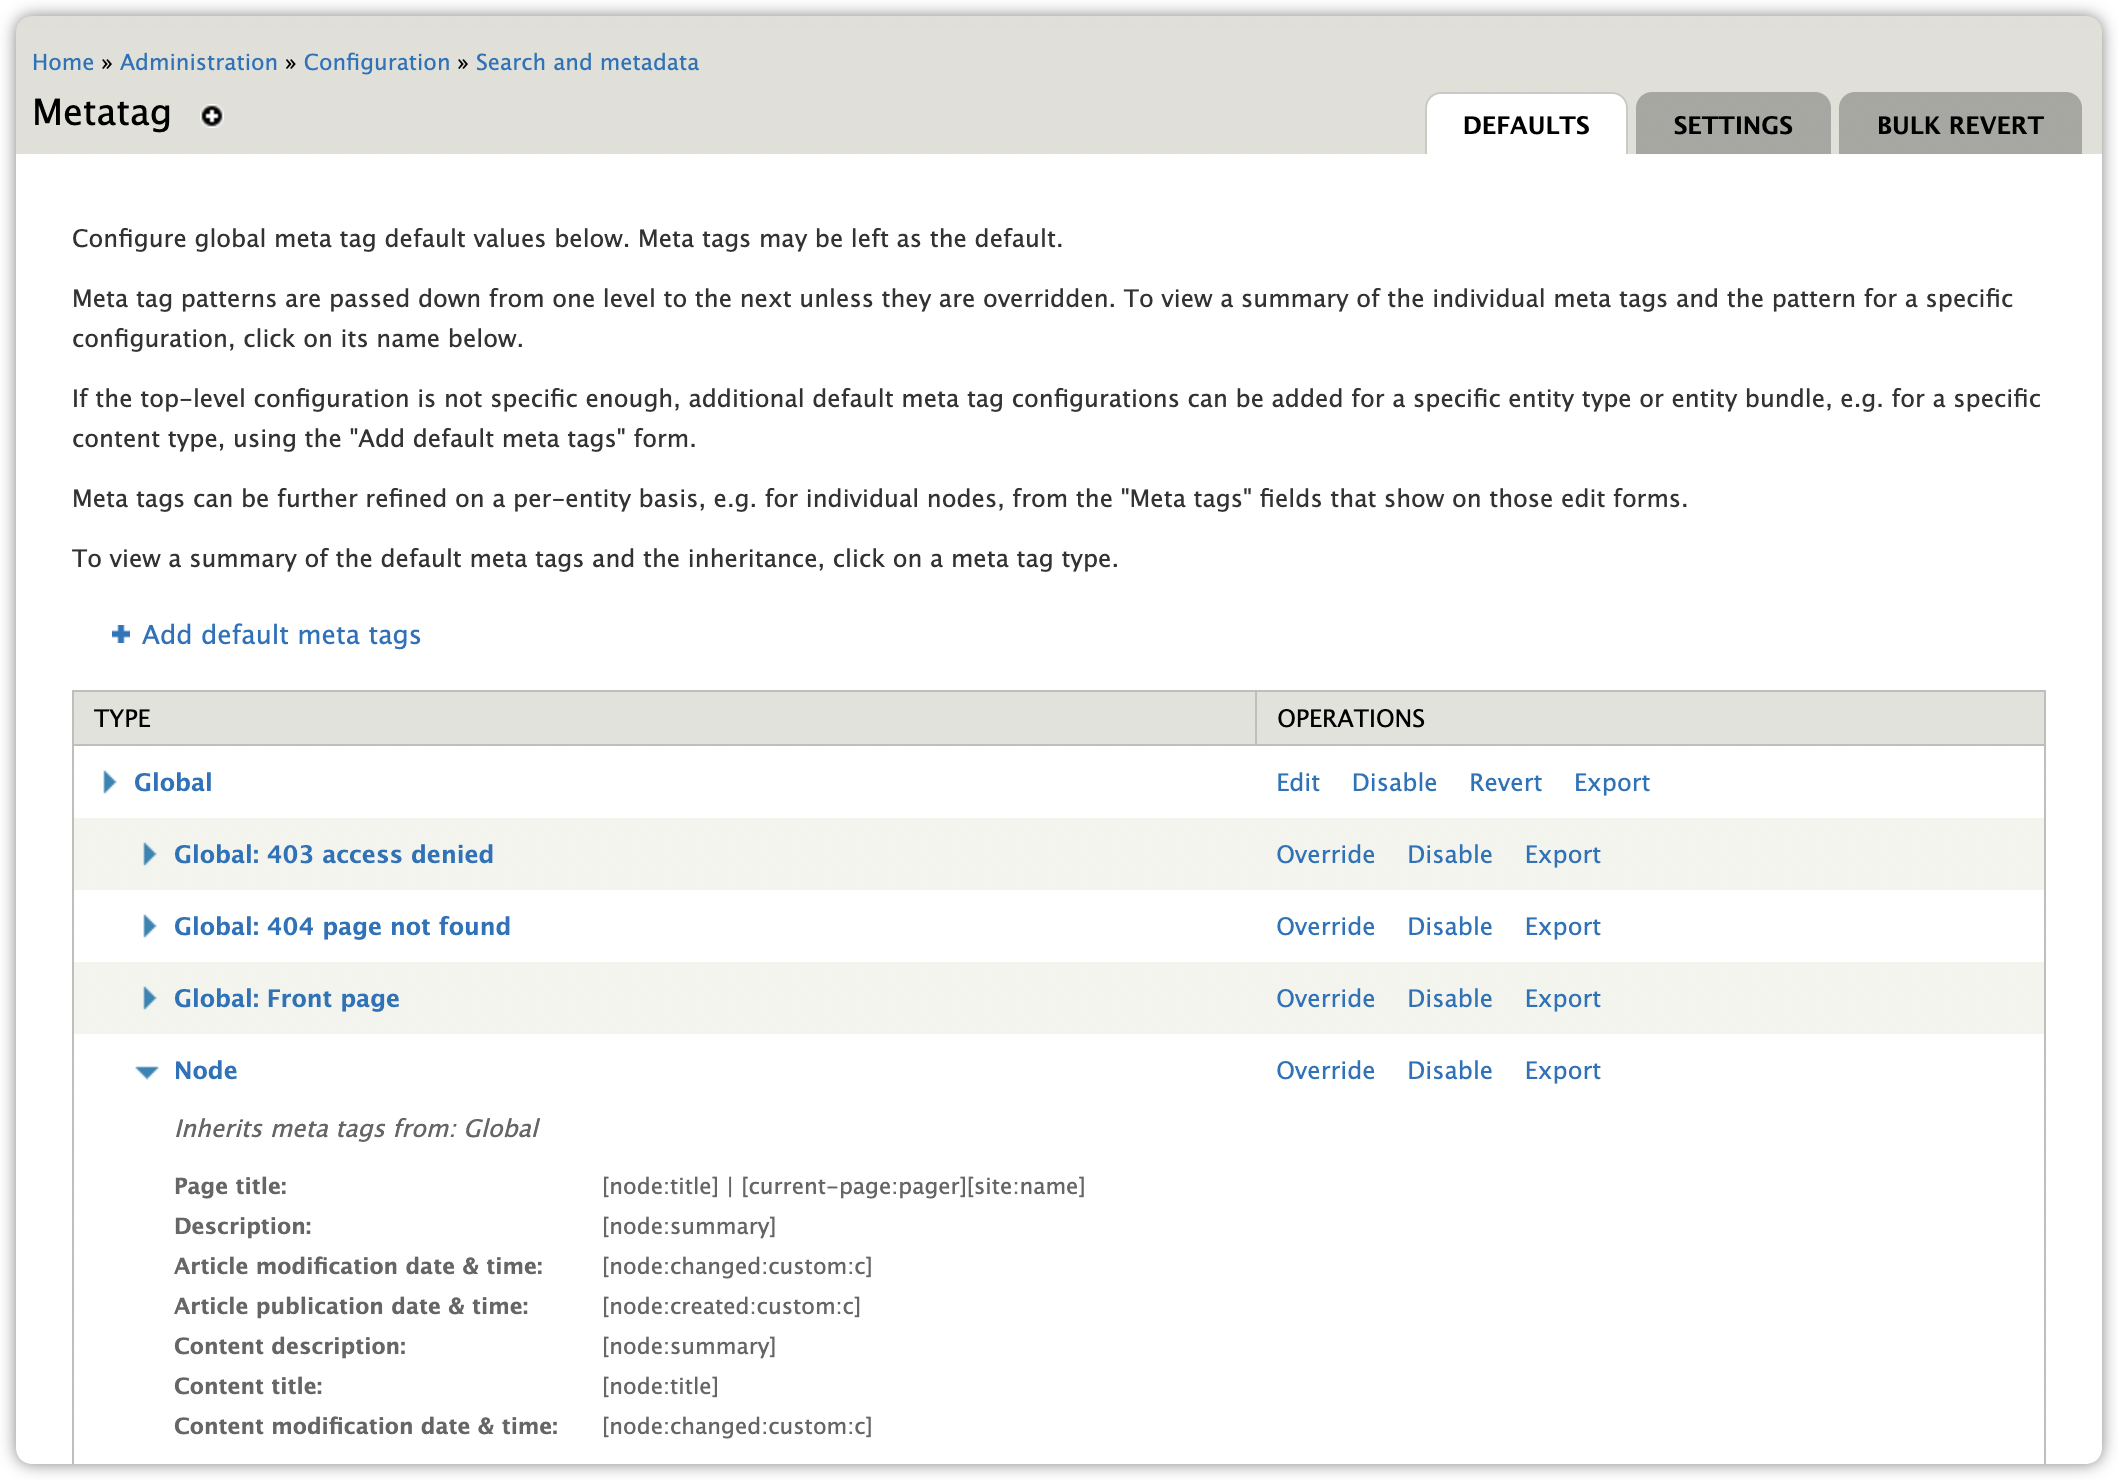
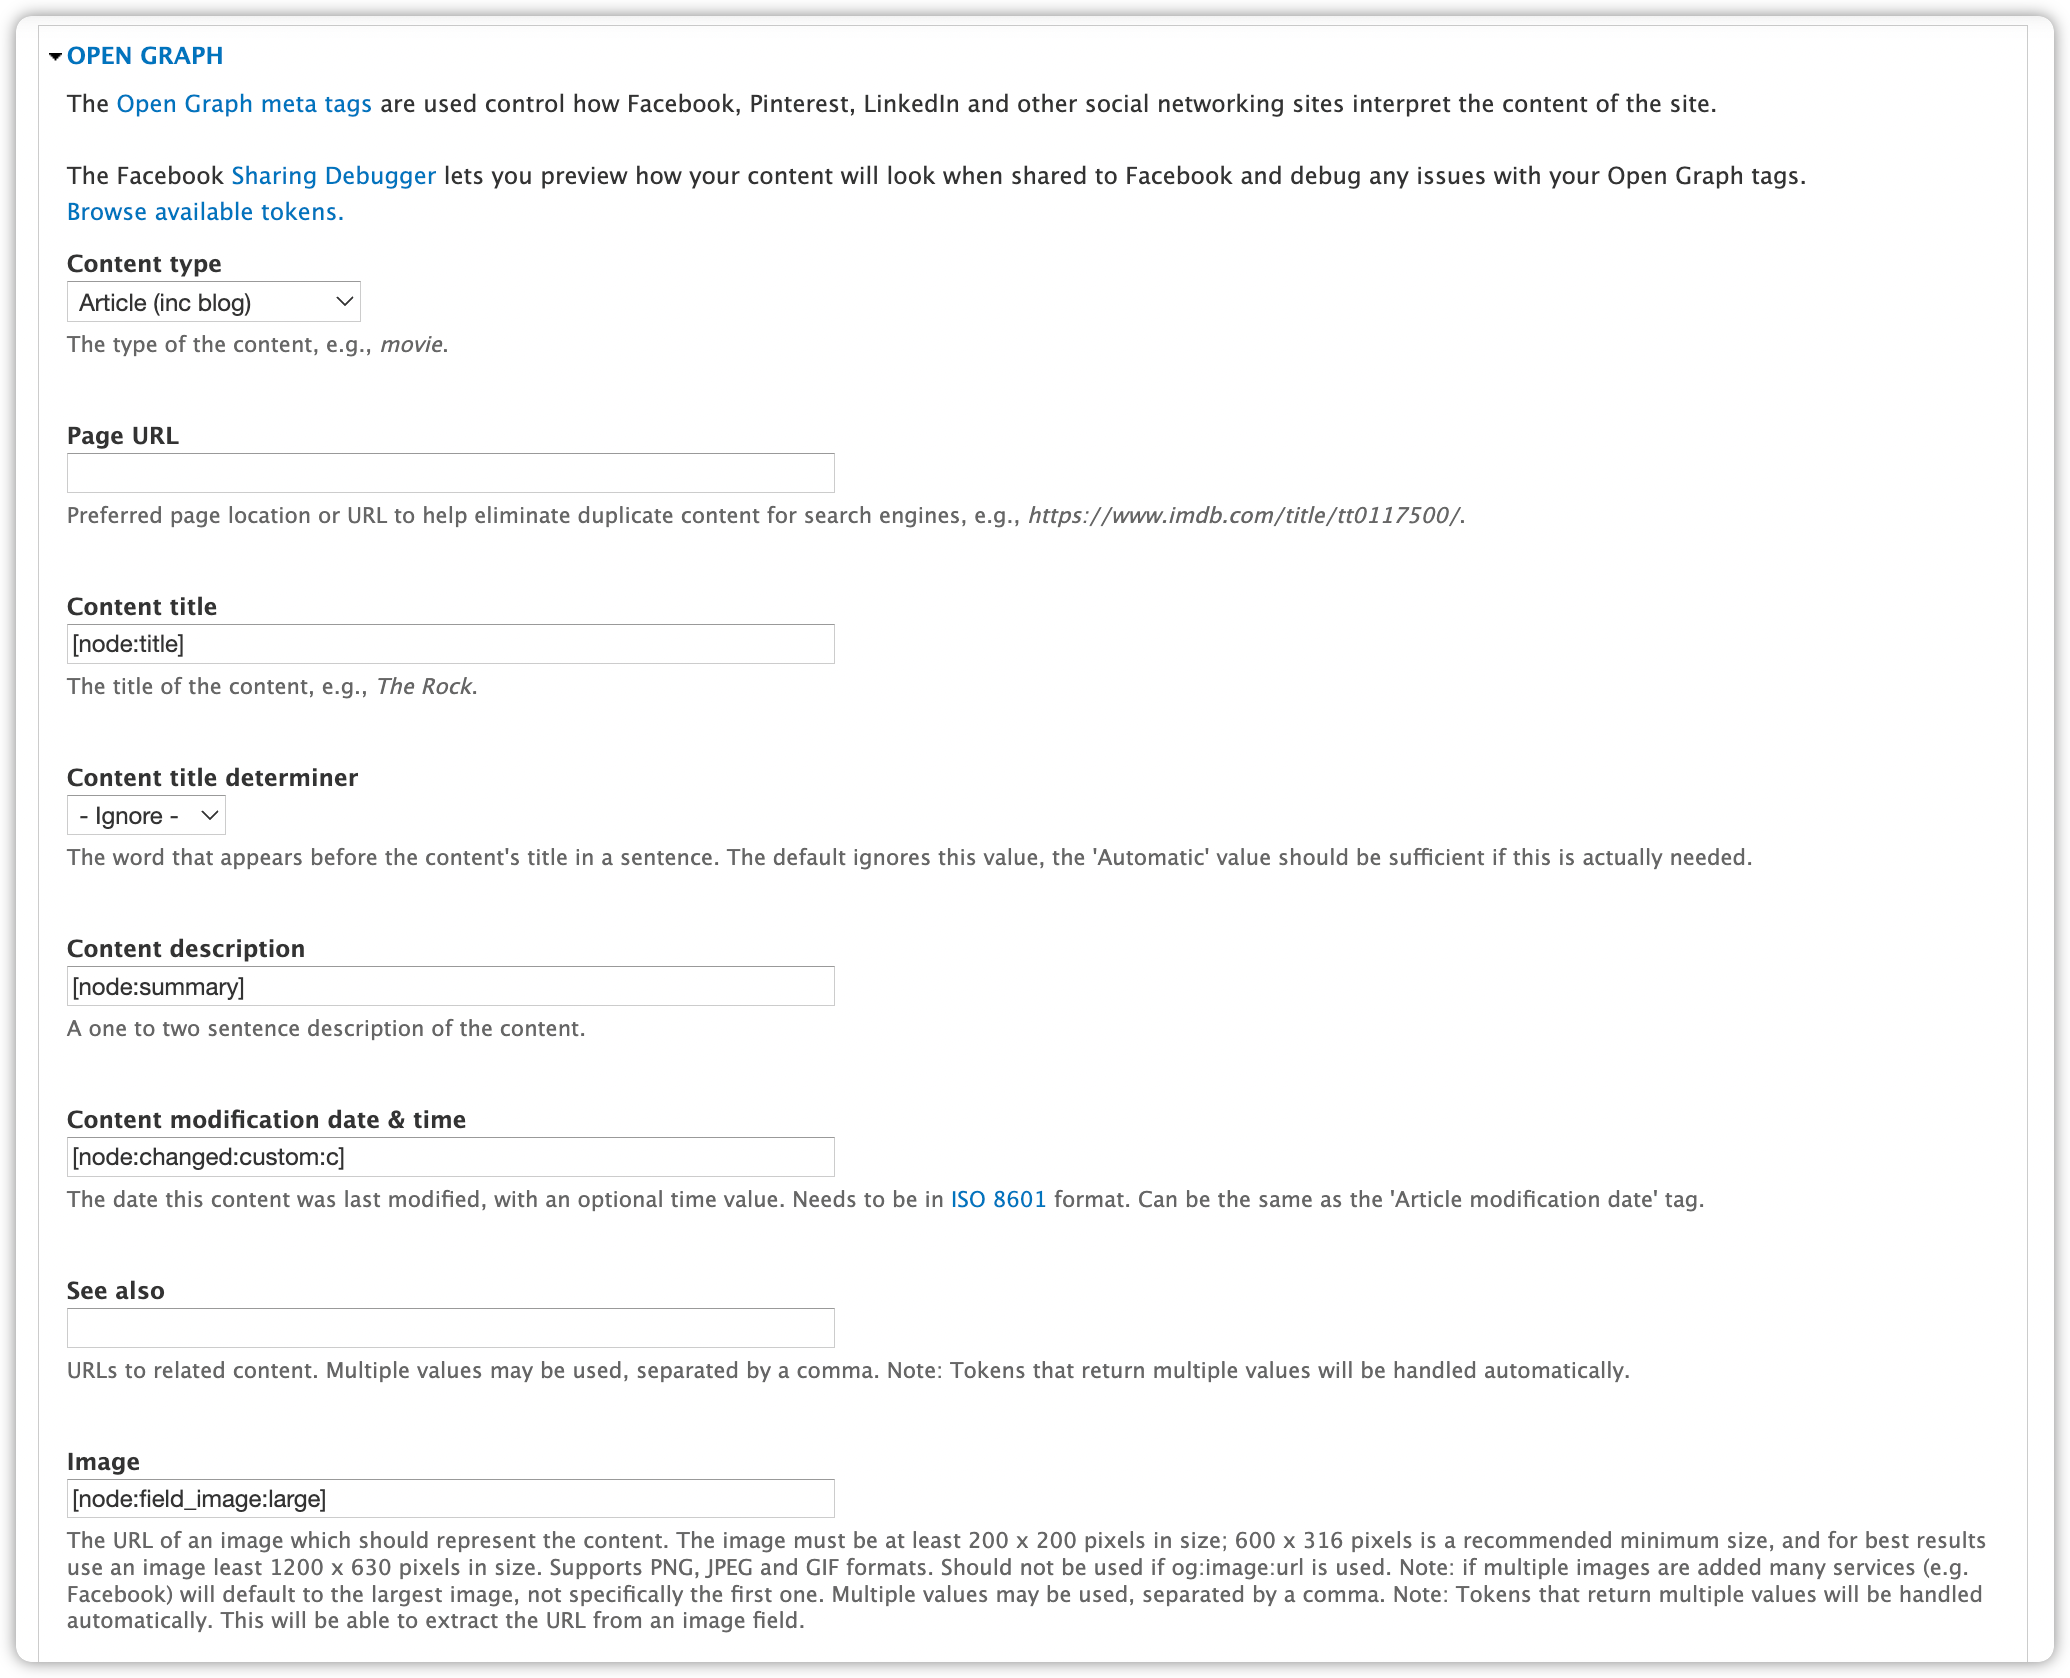
For content that has images, you can configure the search results to show them. By default, this is grabbed from the og:image metatag in the page. If you are using the Metatag Drupal module, you can use the Metatag: OpenGraph (metatag_opengraph) submodule to get the og:image metatag into your content. This is also a best practice for SEO.
Alternatively, you can grab the image in the page a different way by changing the xpath.
Note that the Quant module only pushes over the images that are referenced within the content that is being processed. Keep this in mind when choosing the token to use for your og:image. You may need to install the Imagecache Token (imagecache_token) module to reference your image.
For example, to use the large image style for the out-of-the-box blog image, you would add the image style at the end of the field token like:
[node:field_image:large]
By default, the search result content is the same as the meta description. If your content is well-structured, you can update the xpath to point at the correct DOM element. Check out this xpath cheatsheet.
In order to allow filtering by vocabularies, we need to add the vocabulary machine names to the search configuration.
Edit the search configuration and add the machine names in the Facet and filtering section and click the Save button. For this example, we can add the out-of-the-box tags vocabulary.
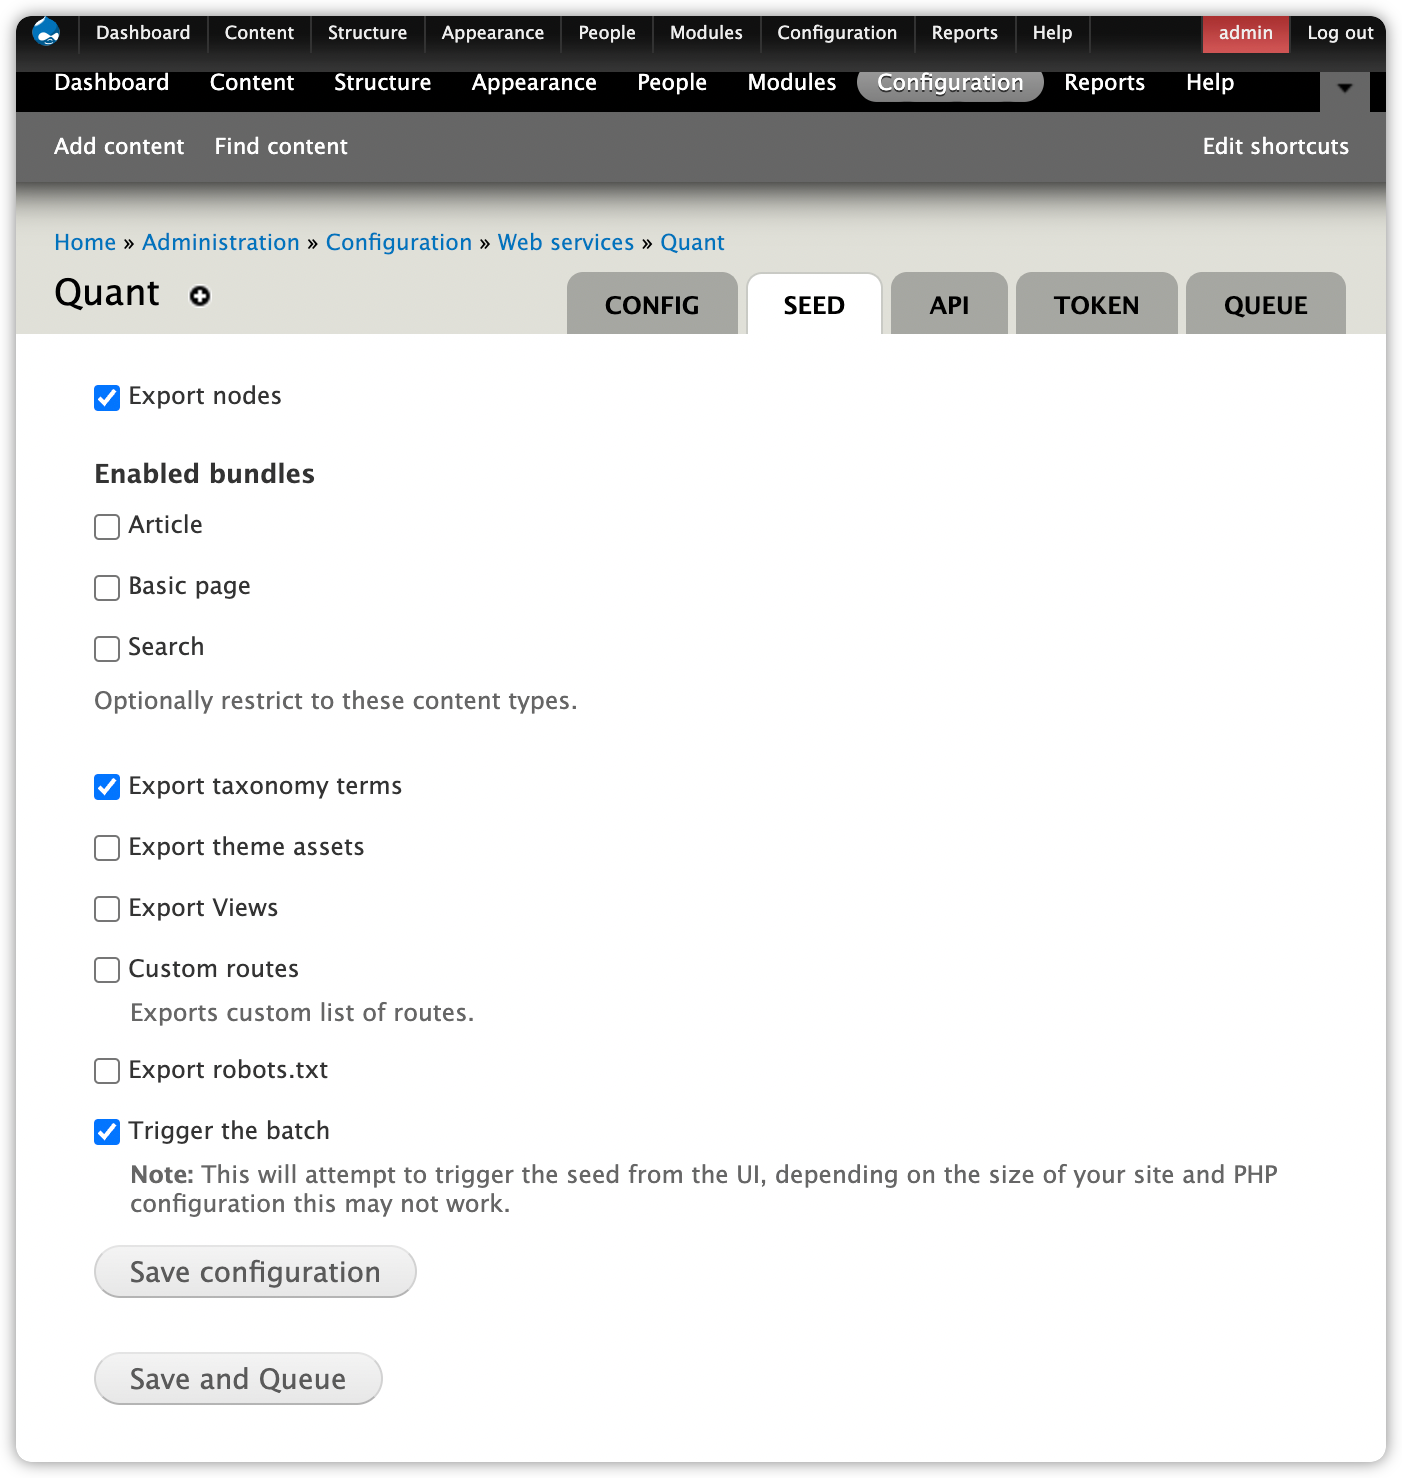
Once your content has been tagged and has the correct metatag information, you can push your content to Quant via the Seed tab and it will update the search index.
Once the processing is done, you will see the search index status change. If you add content to the index that later should be removed, click the Clear button to clear the search index and then run the "seeding" again.
Now that the content has been indexed, we need a way to search for it, so let’s create a search page within the Dashboard.
1. Go to the Dashboard Search page.
2. Click the Create button in the Search pages section.

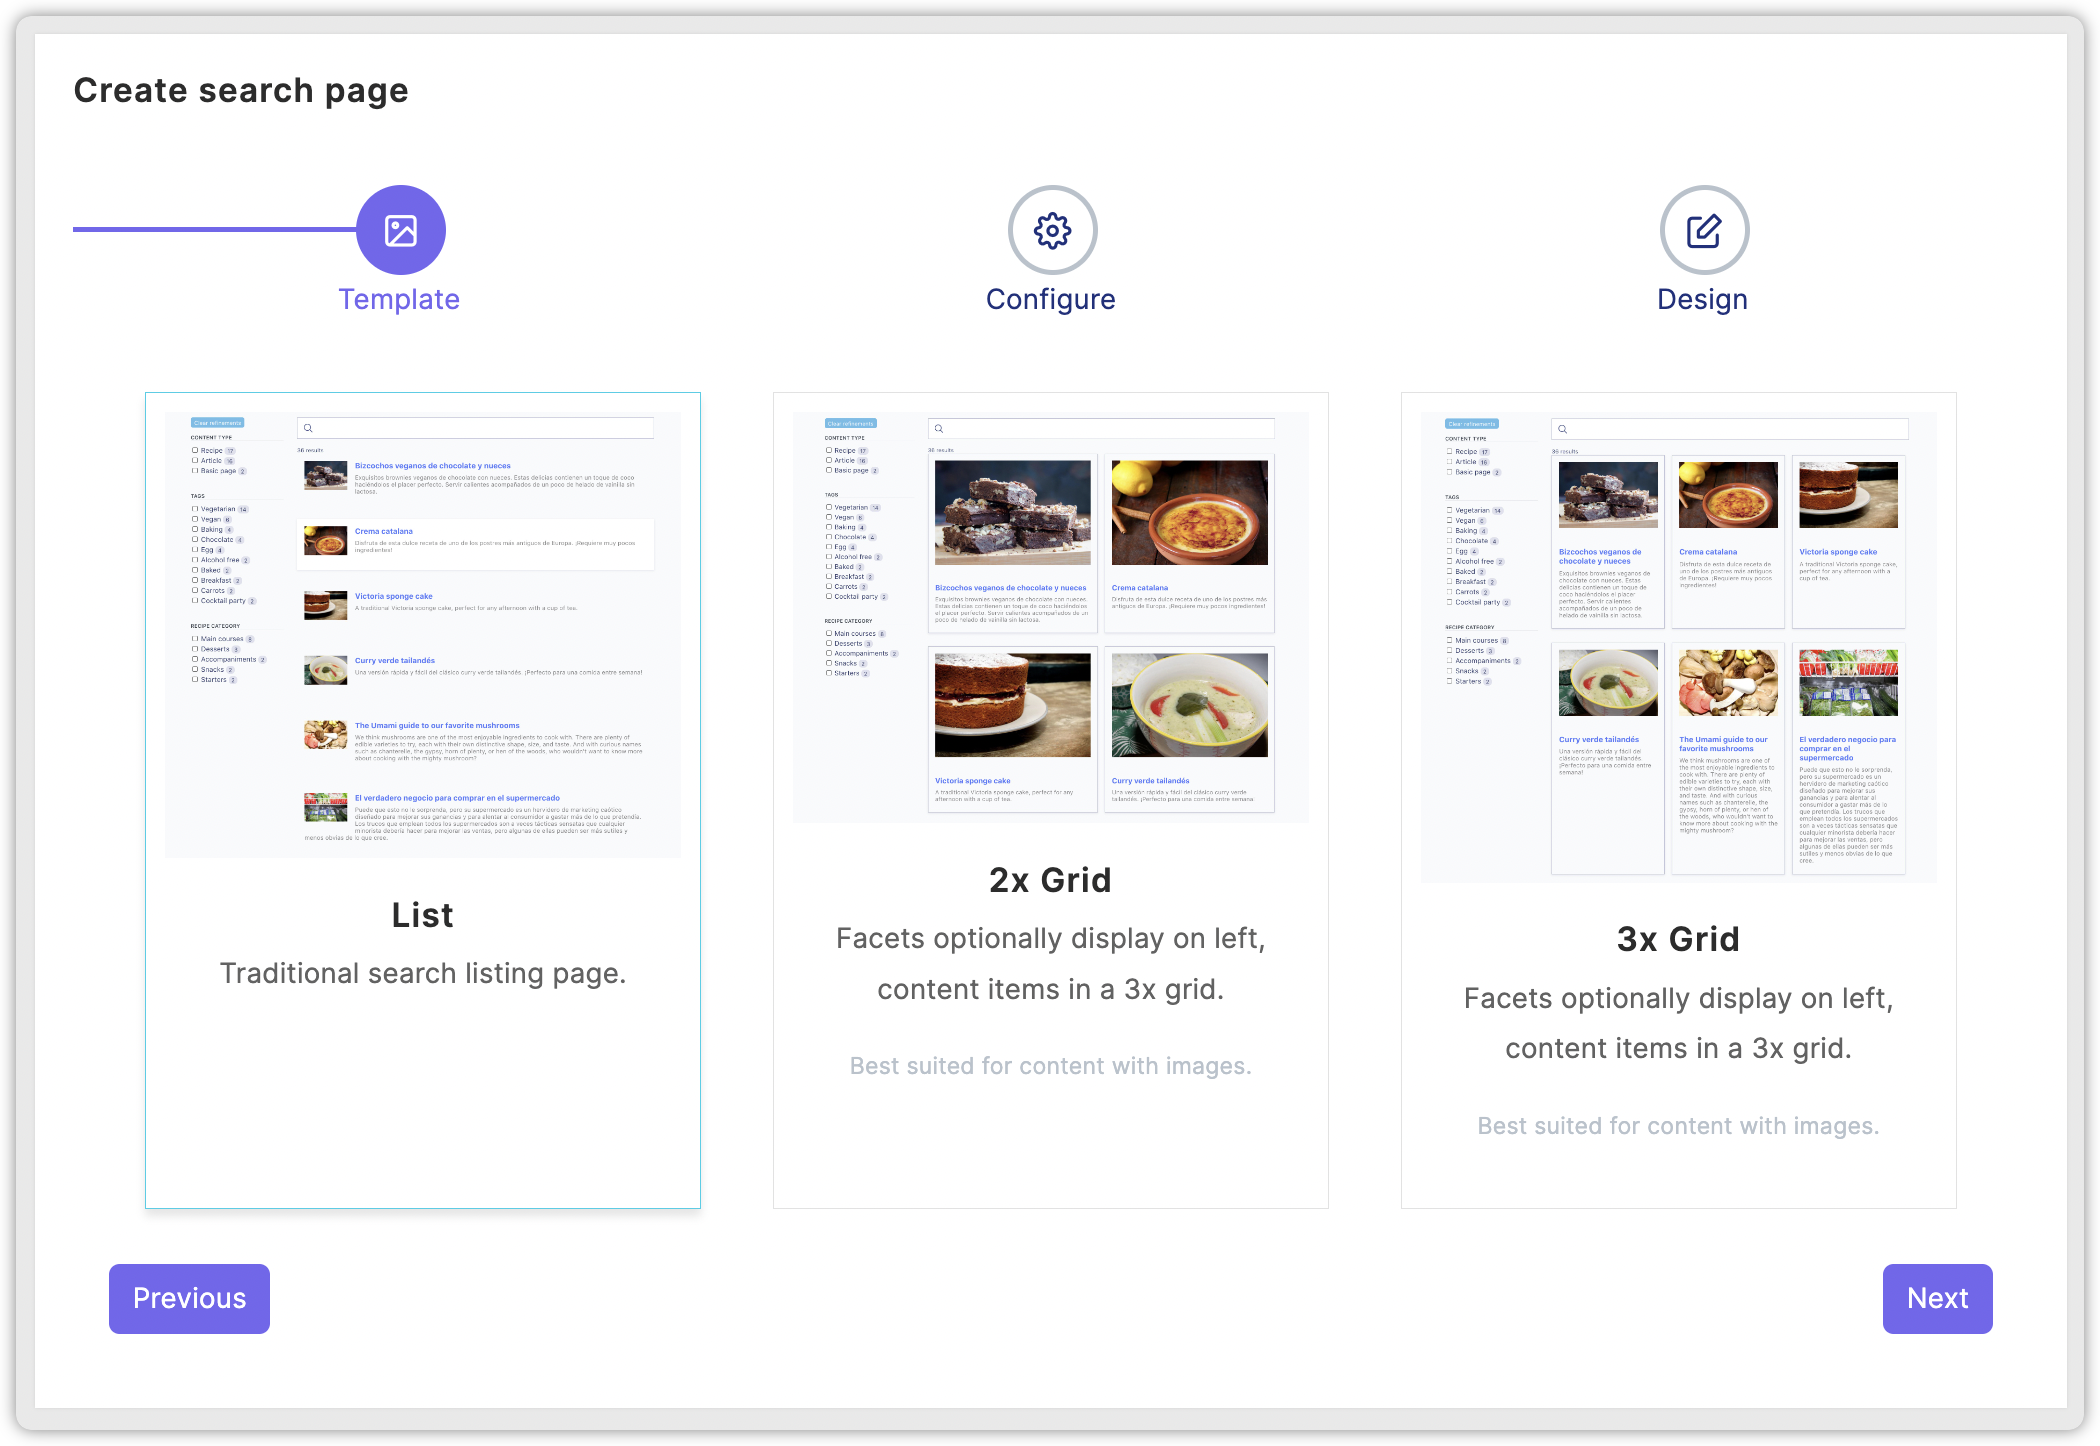
3. Choose a template and click the Next button. You can change this later.
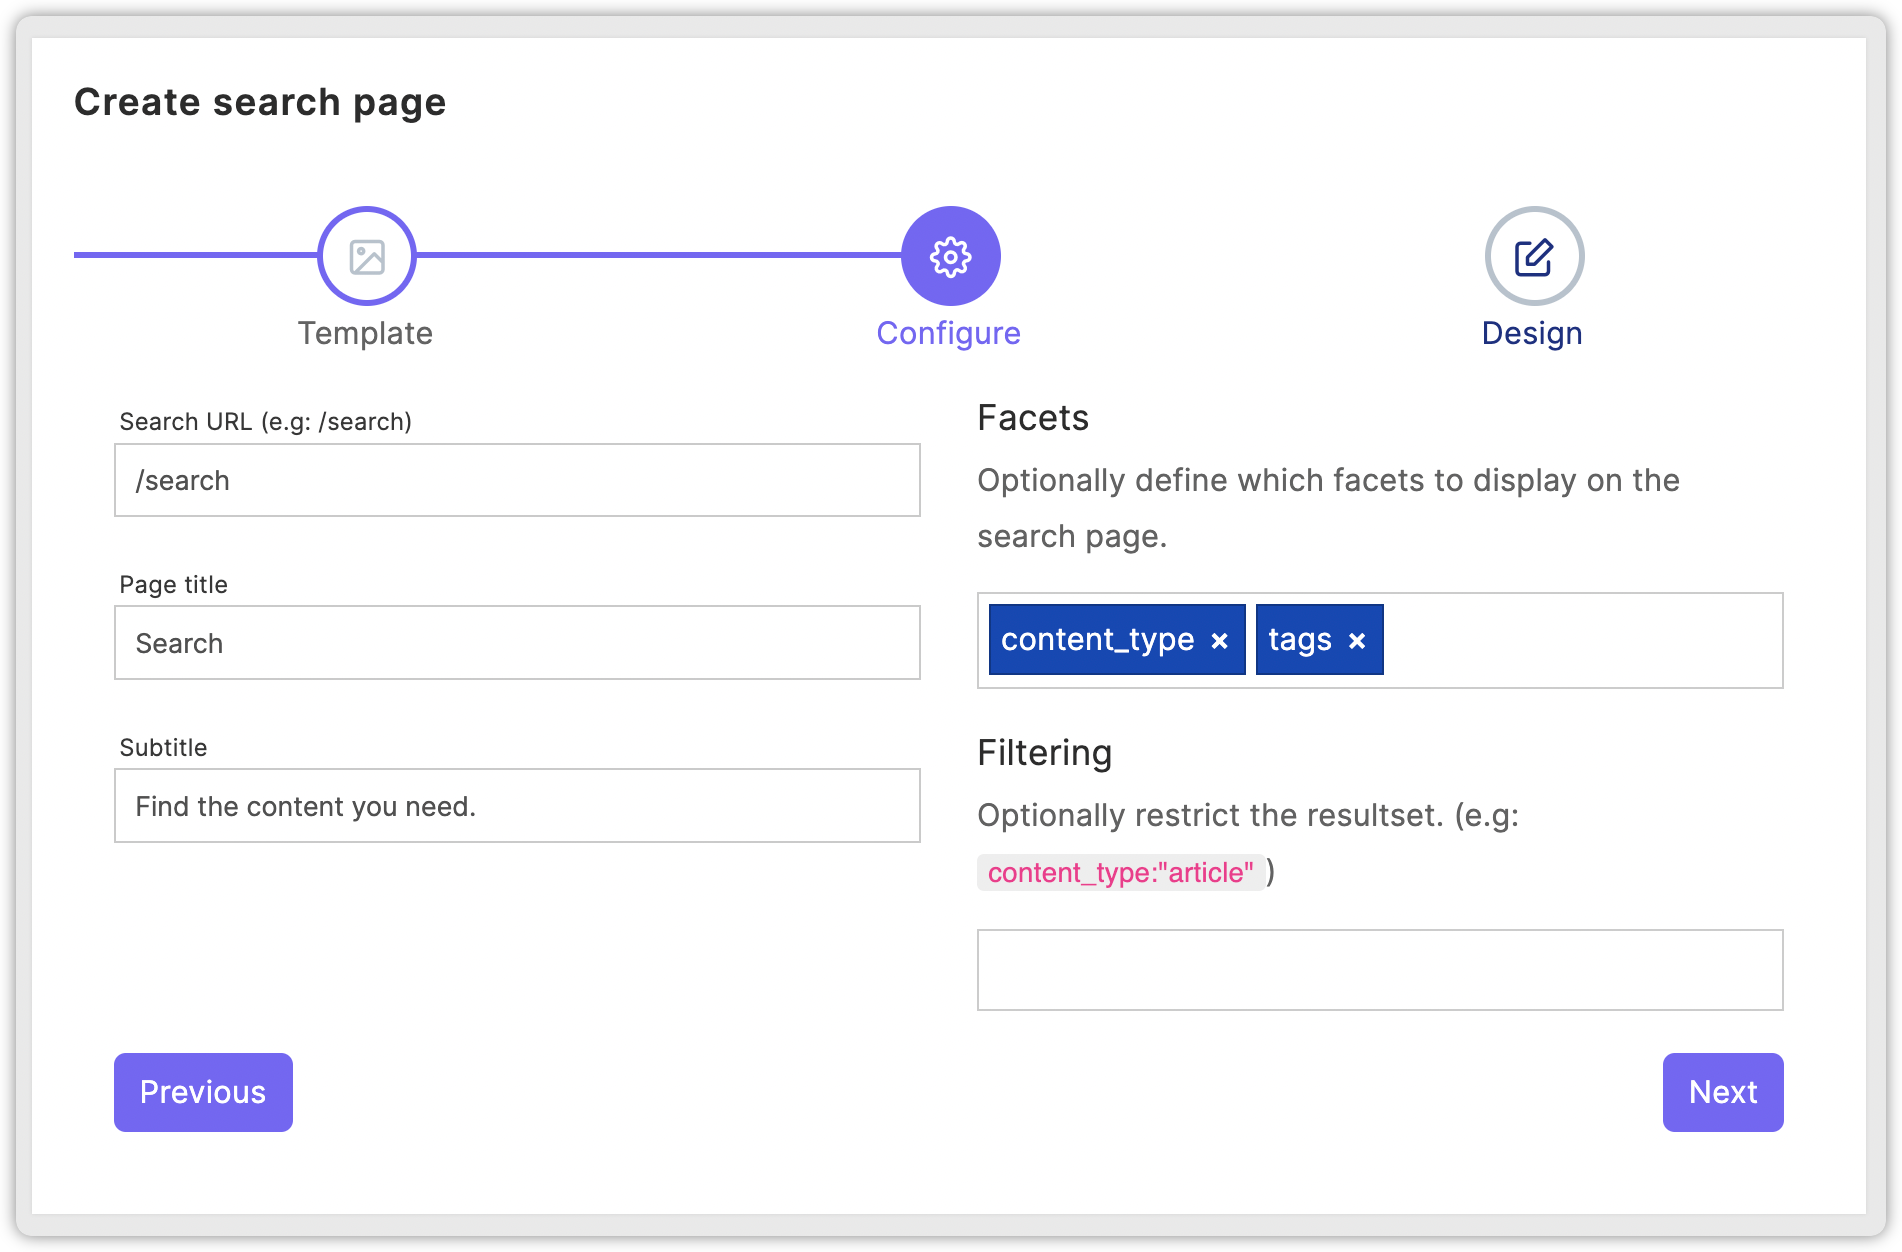
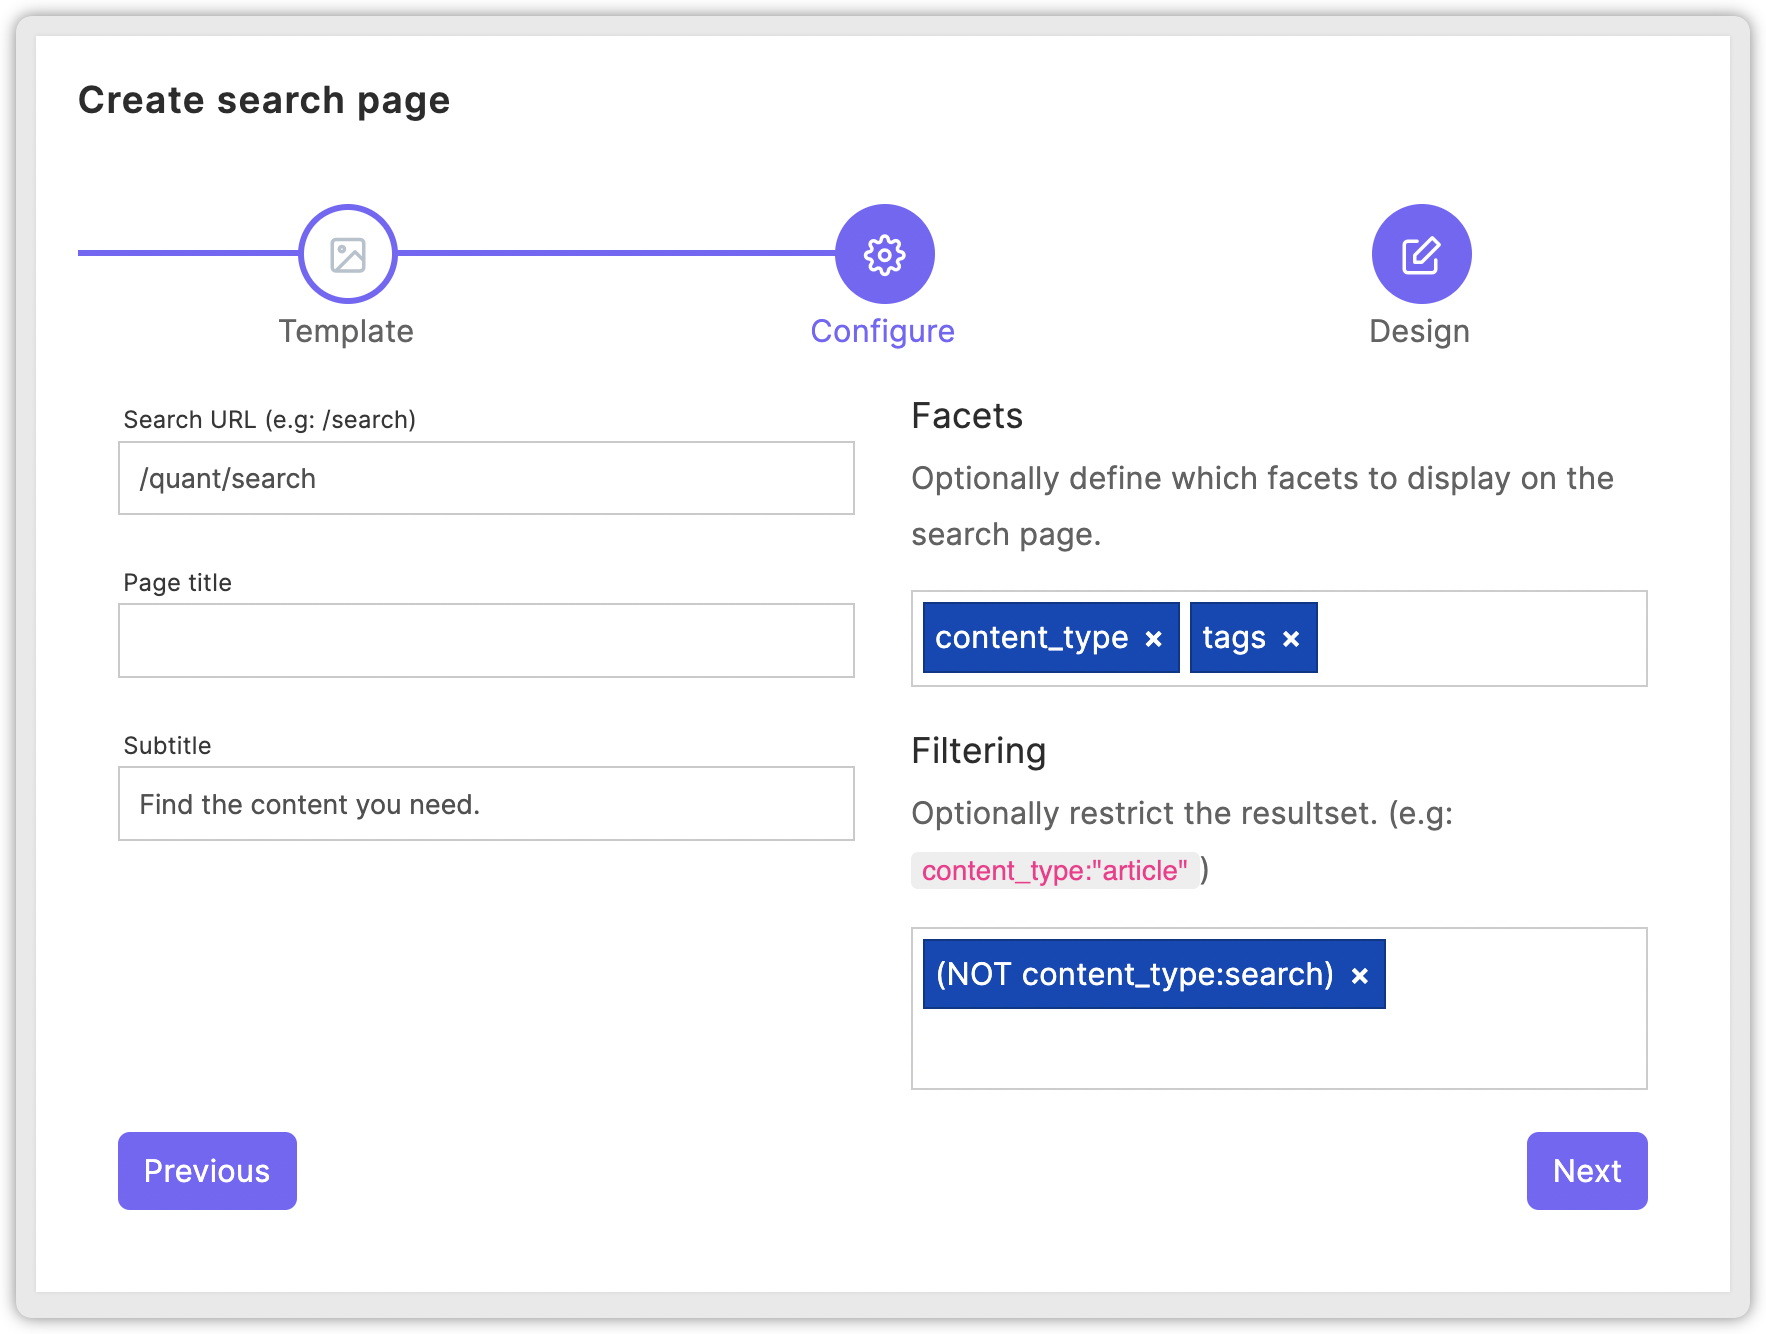
4. Configure the page settings including Search URL, Page title, Subtitle, Facets, and Filtering. In order to be able to filter by the tags vocabulary, add it to the Facets list, and click the Next button.
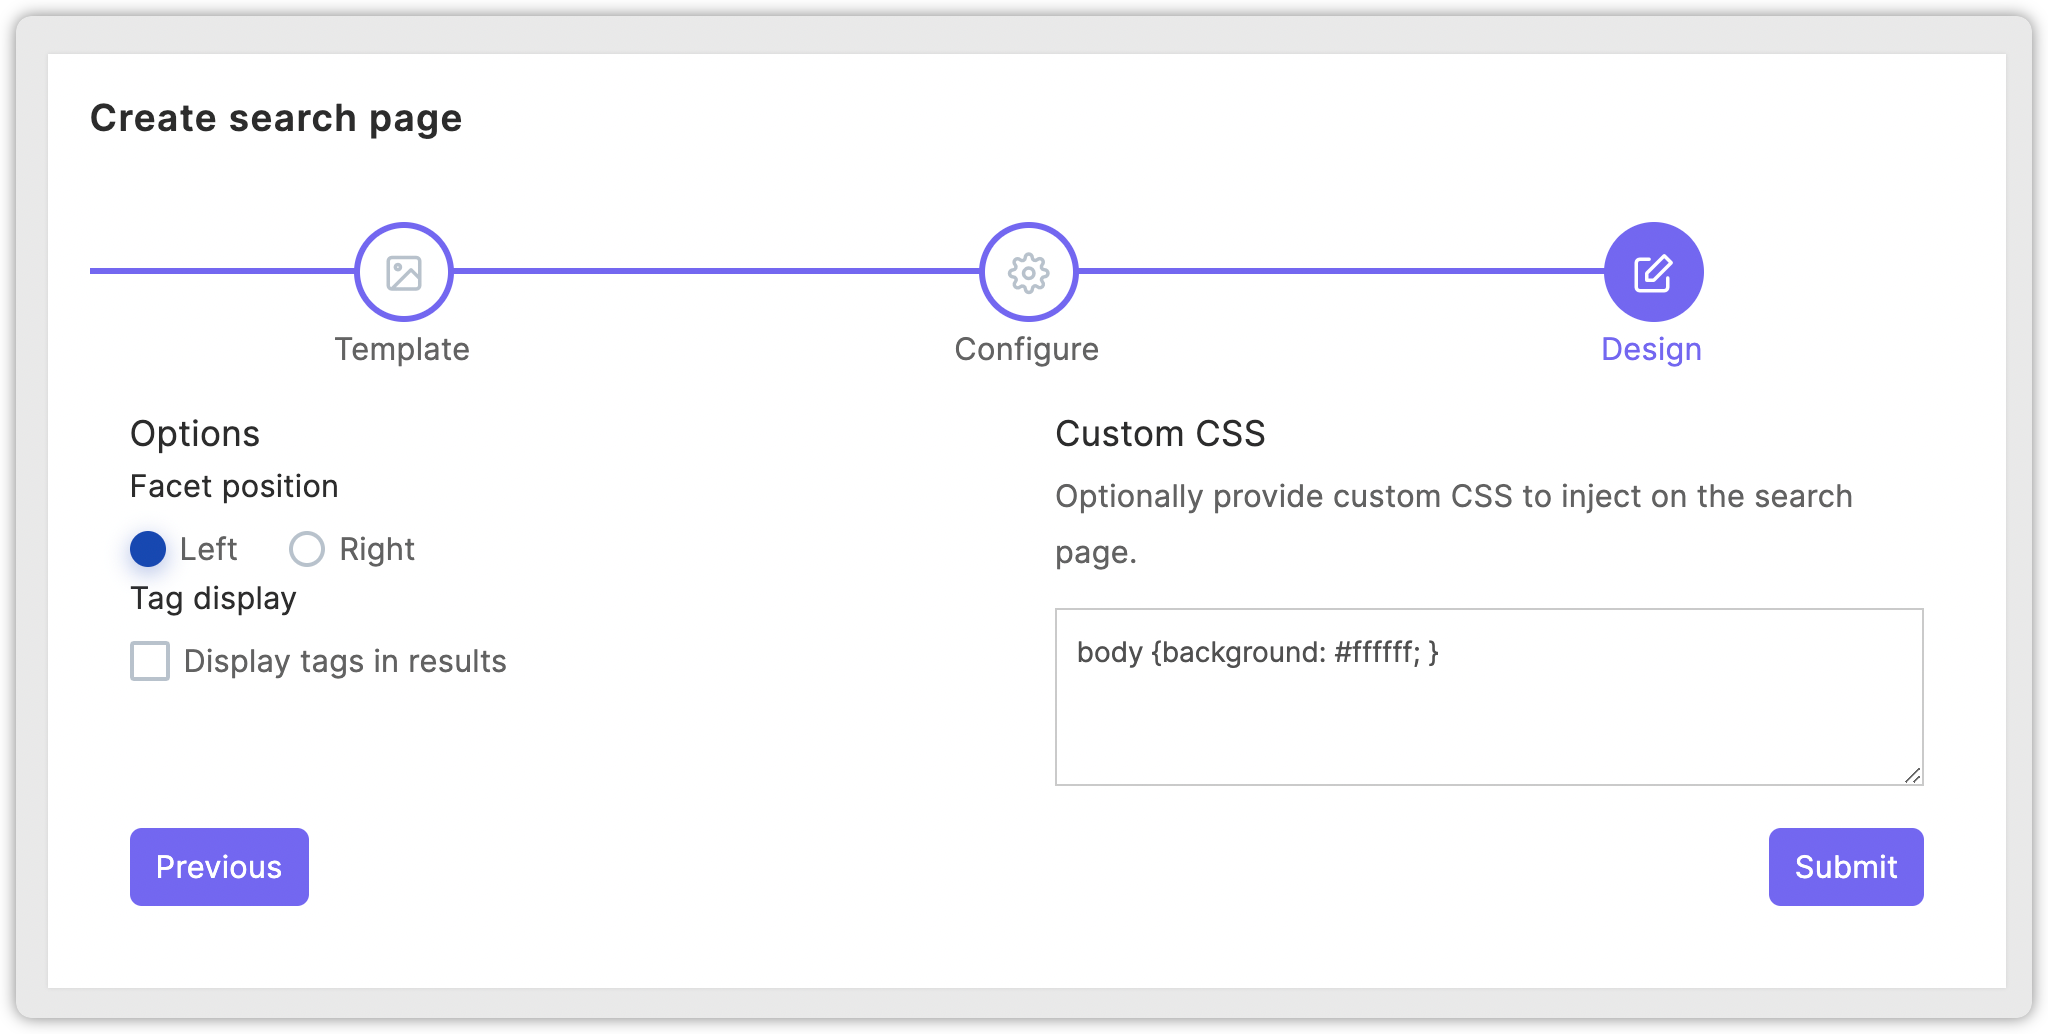
5. Configure the design settings including Facet position, Tag display, and Custom CSS.
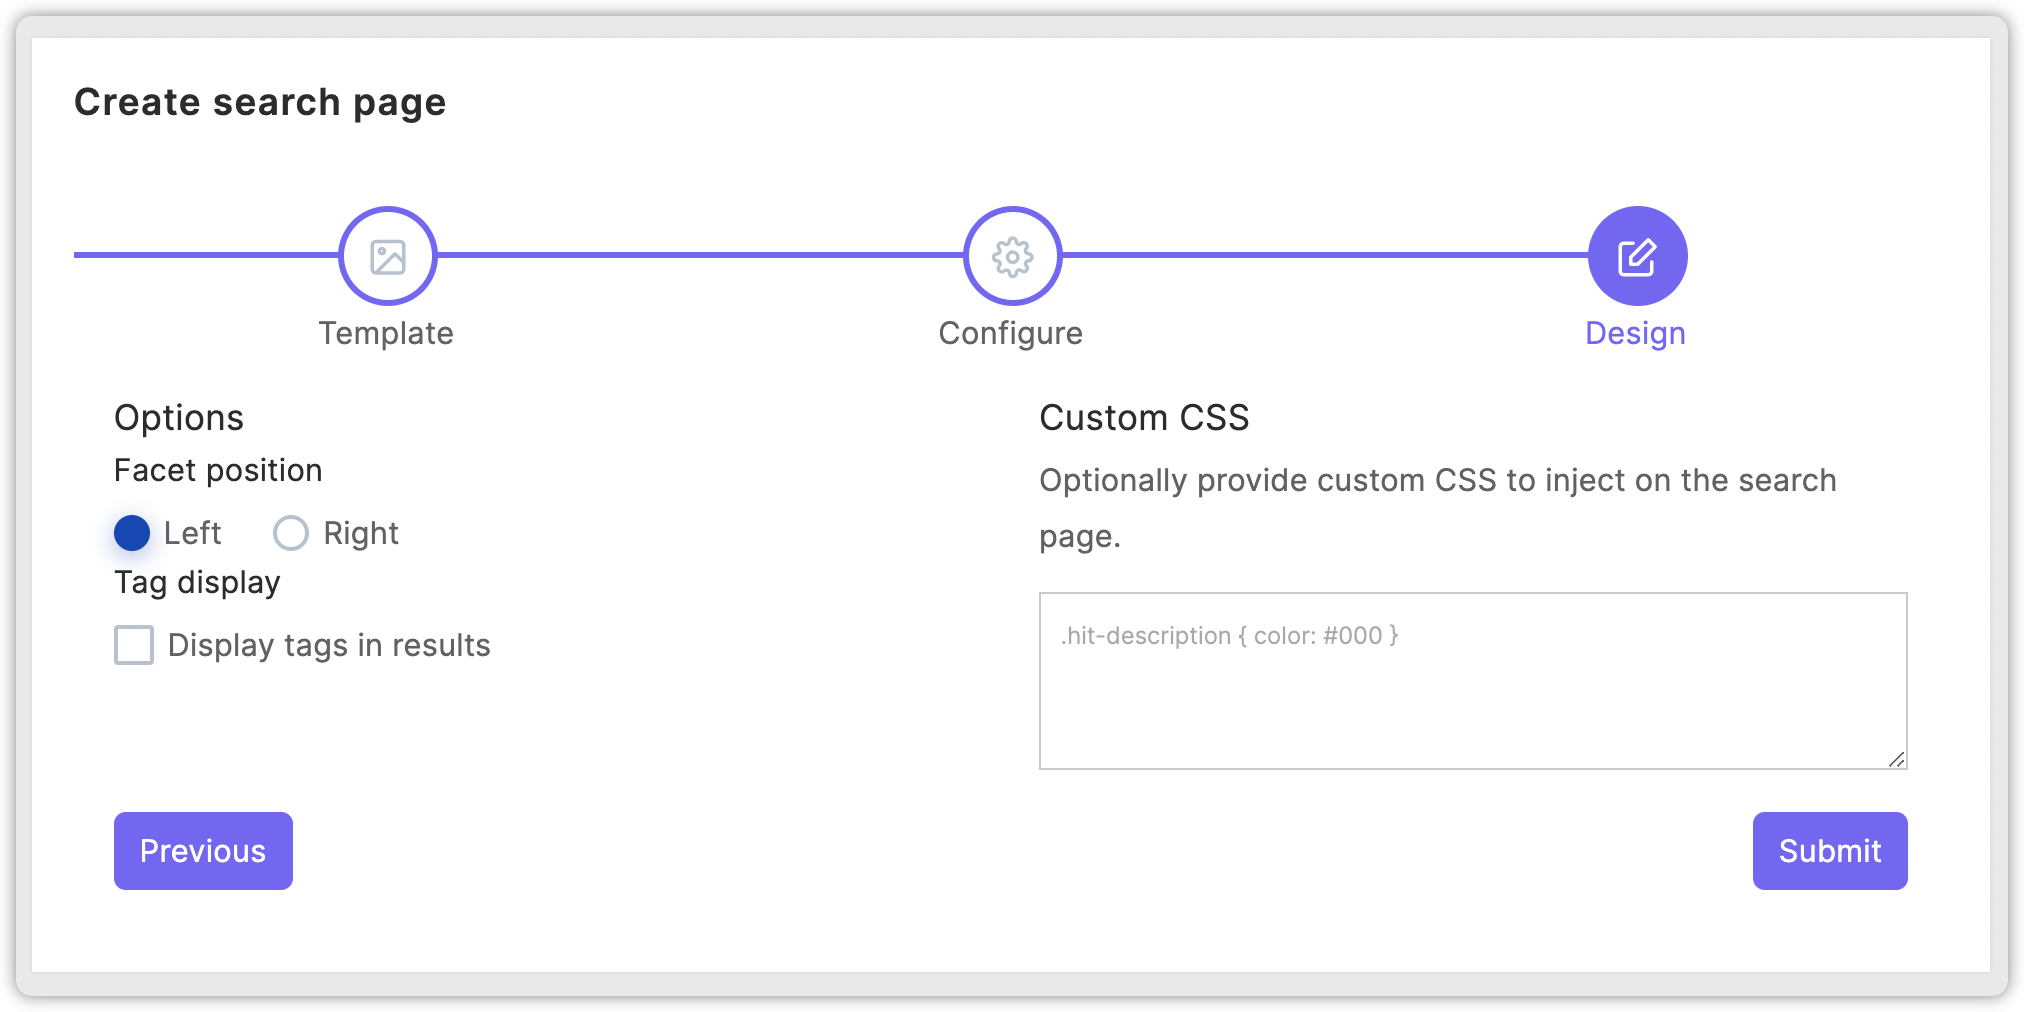
6. For now we’ll use the defaults, so click the Submit button and you will see your search page listed. You can edit the search page configuration later. You can also make as many search pages as you’d like.
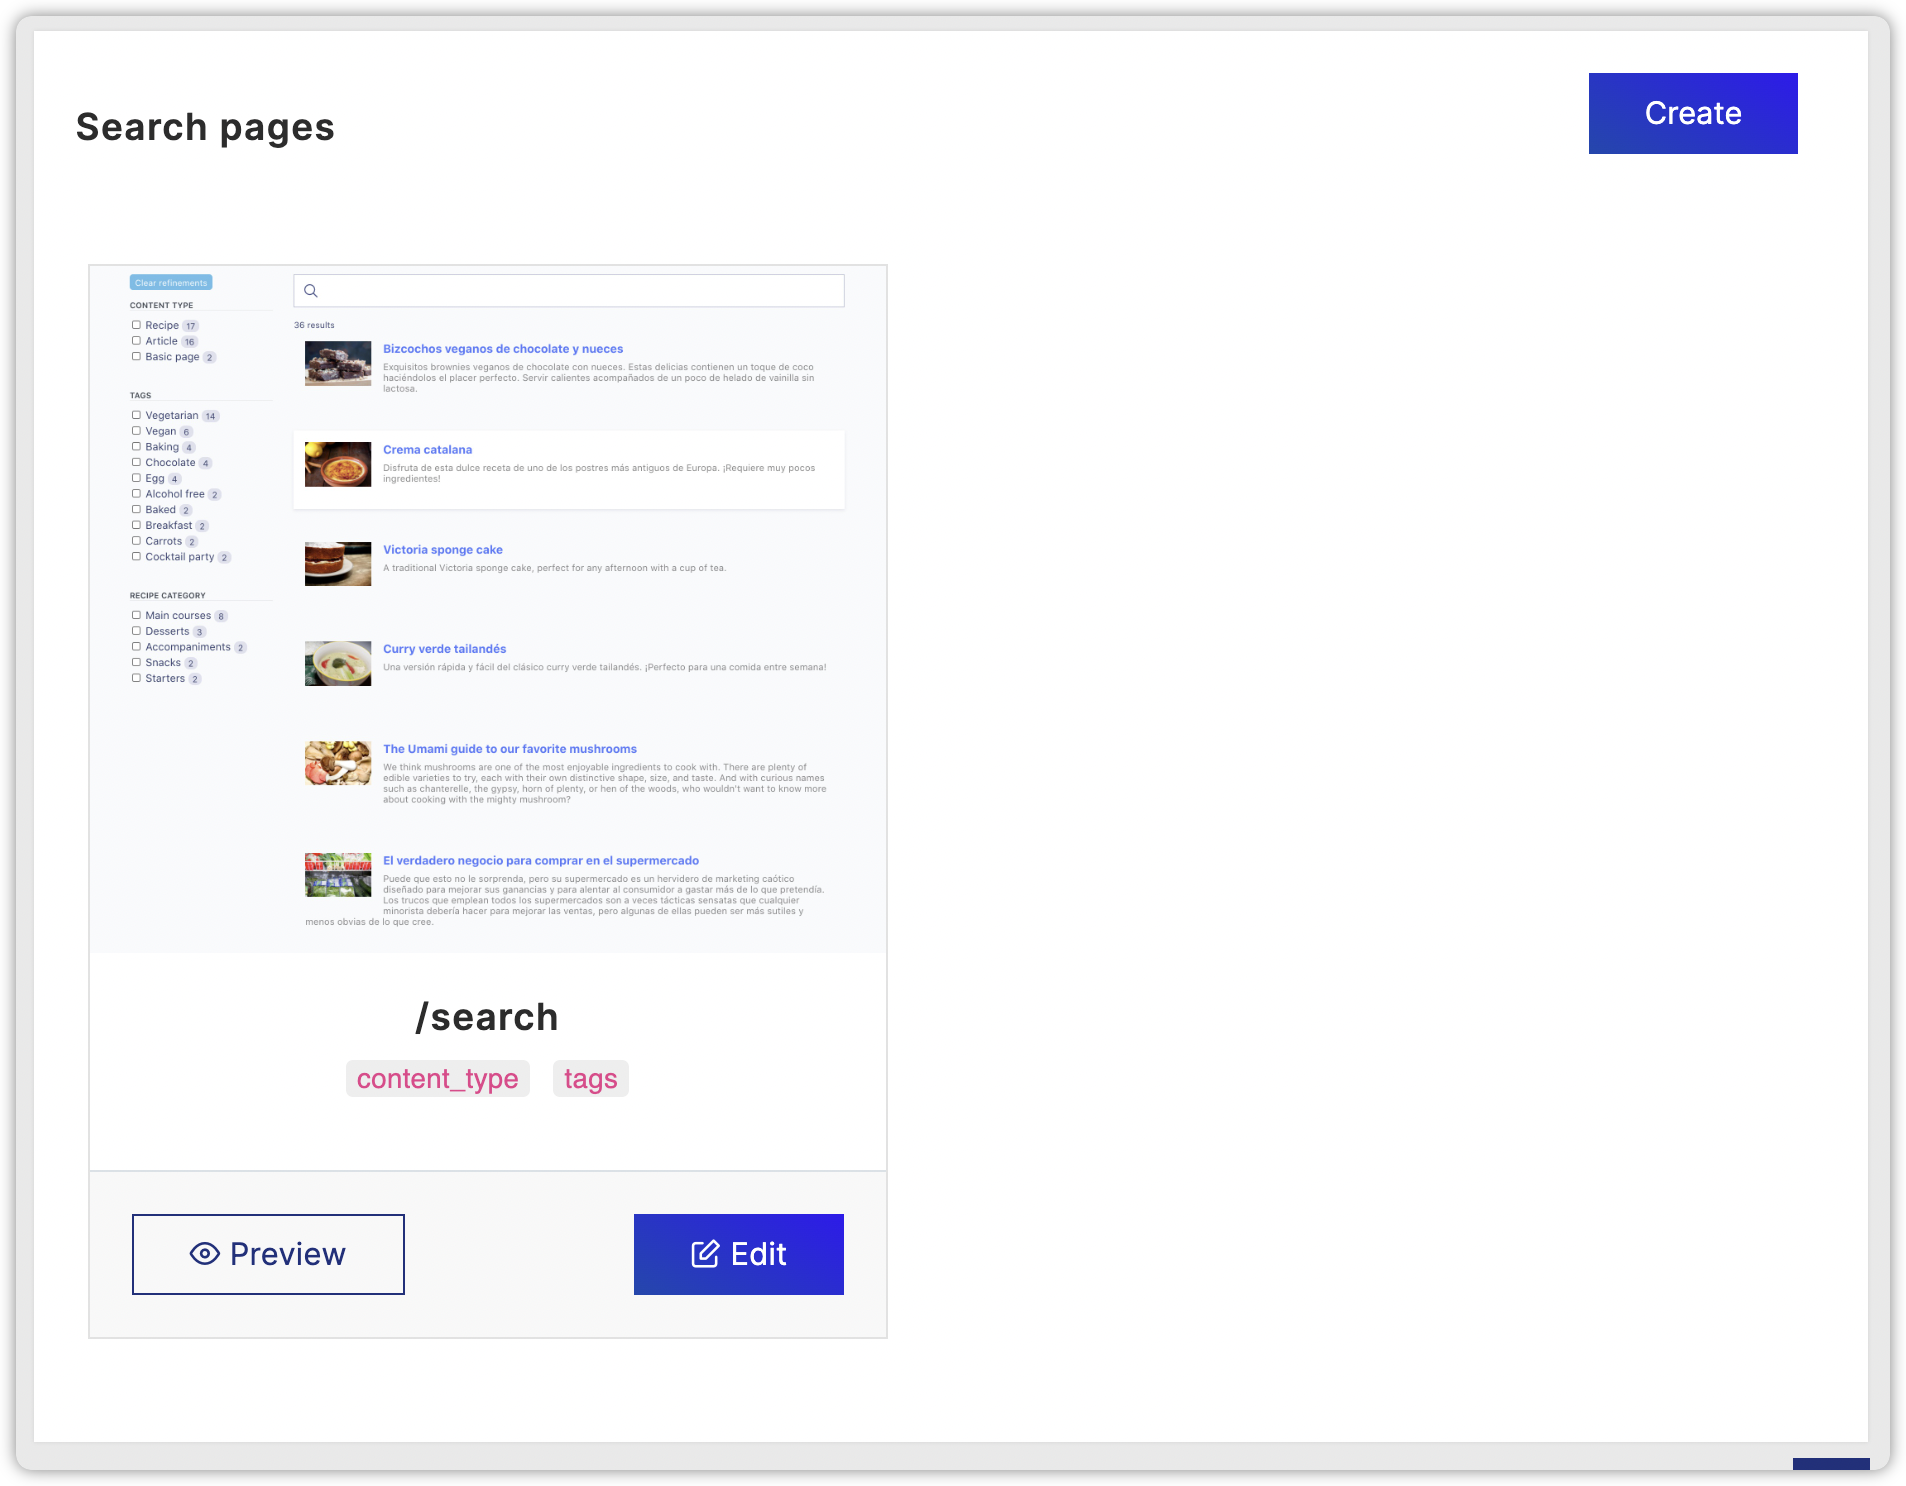
7. Click on the Preview button to see your search page. If you have not provided any CSS yet, it will default to a simple style that can be used as-is for any site.
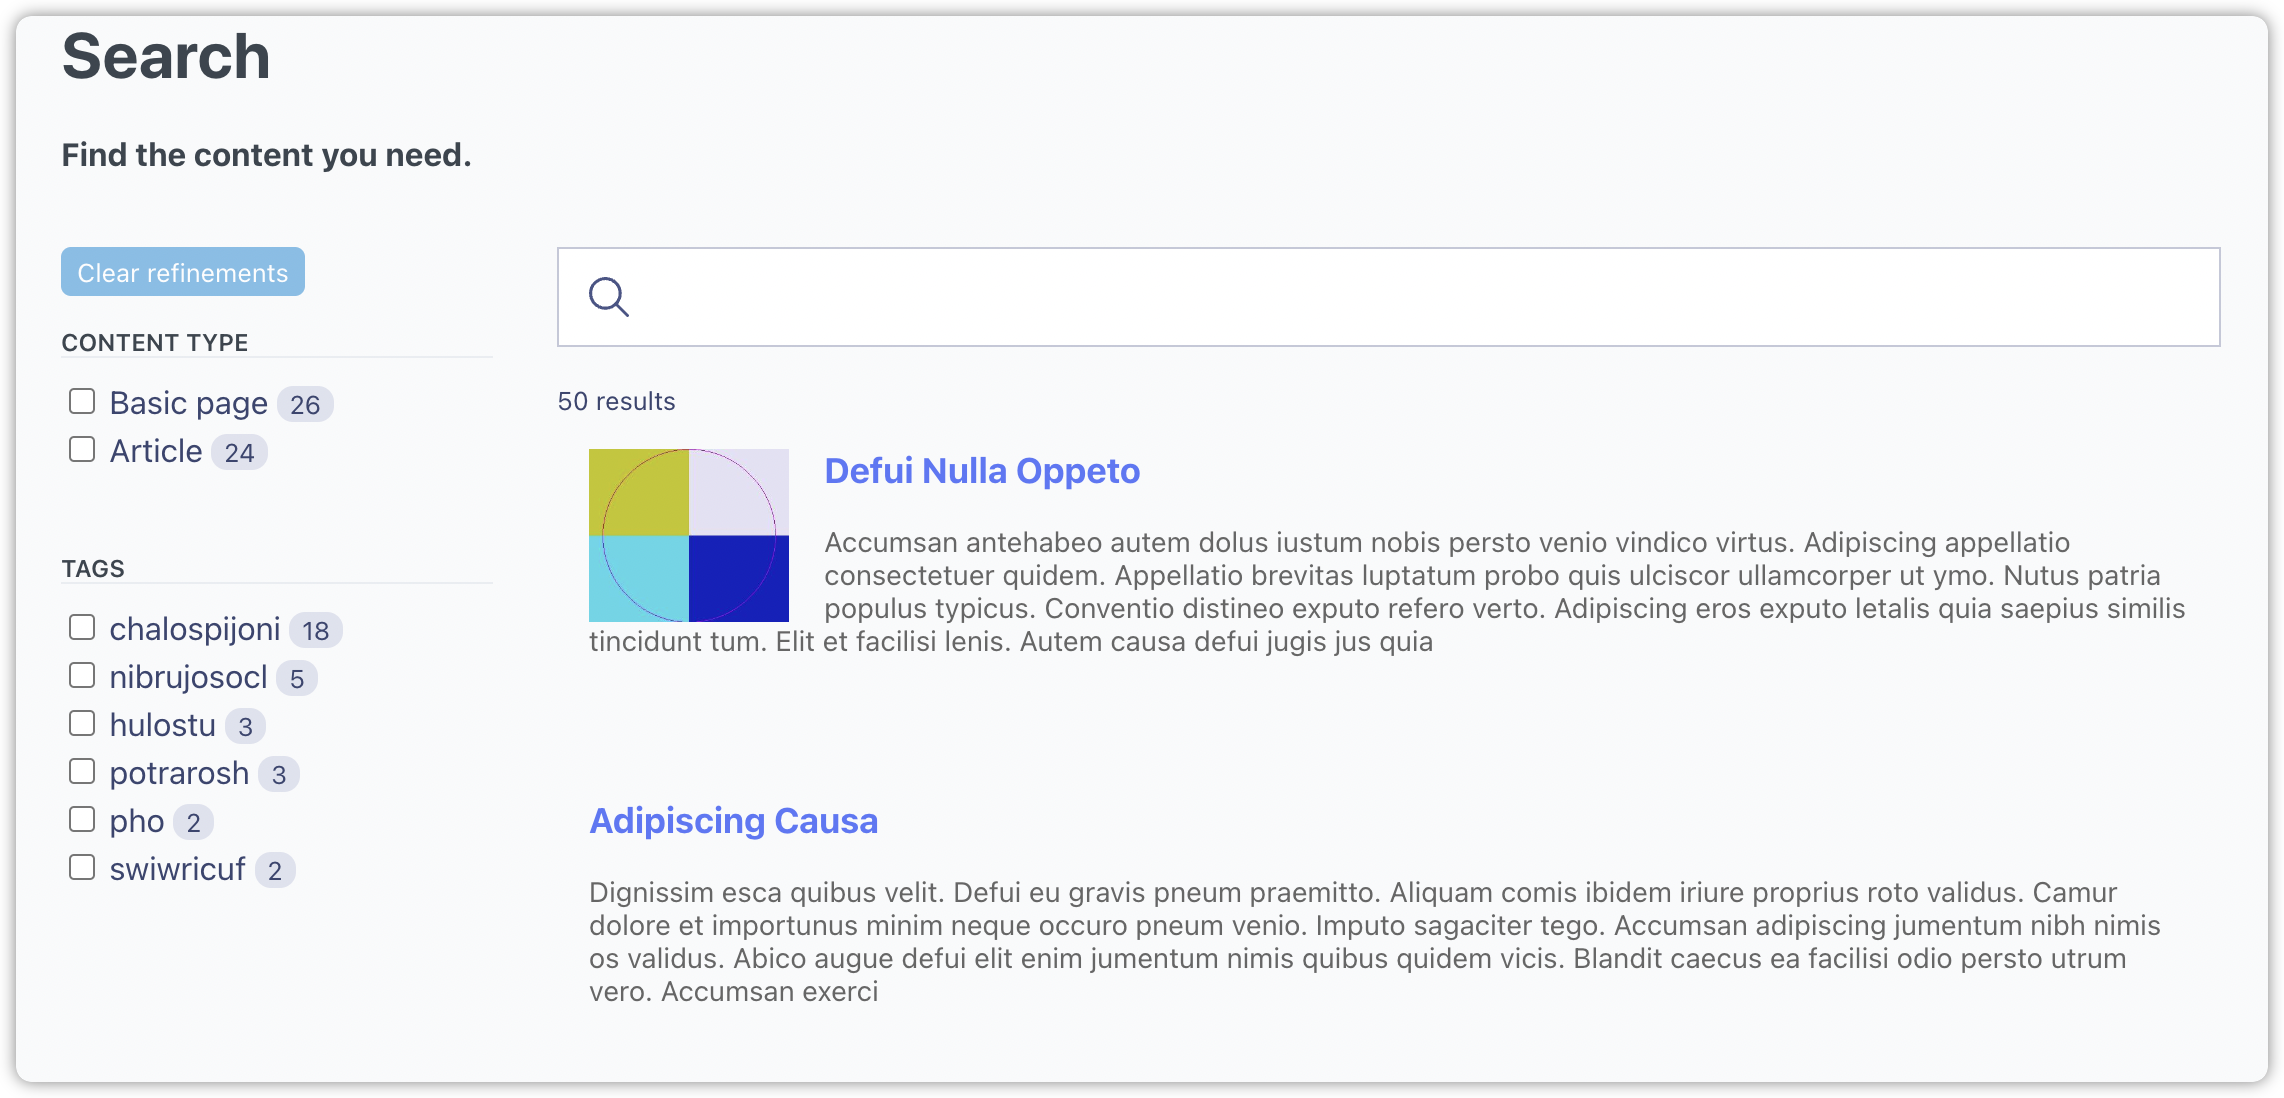
For some sites, the basic default styling will be sufficient. Or, perhaps just adding a bit of Custom CSS in the search page.
If you want to make the search page look more like it’s more integrated with your Drupal website, there’s a hack you can do that leverages an iframe.
1. Within Drupal, create a new content type. For our example, we’ll call it Search with search as the machine name. It doesn’t need anything special, just a title and body field.
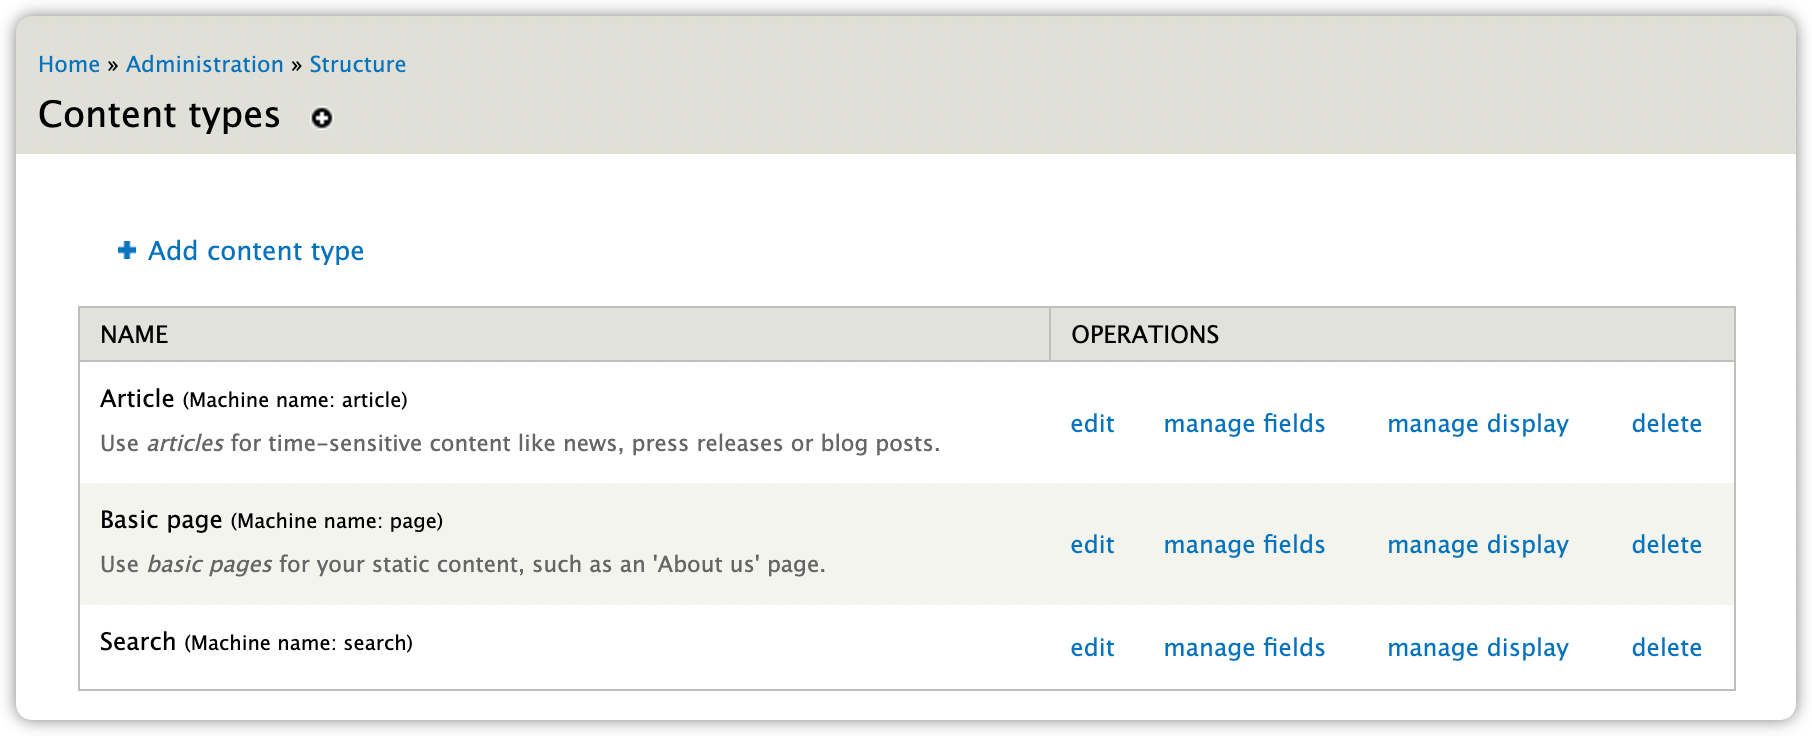
2. Within the Quant Dashboard, we edit the search page to make some adjustments. We’ll be making a Drupal page using the new search content type which will have its own page title, so we’ll update the Quant search page to remove the Page title.
3. To avoid confusion and not collide with the Drupal page, we’ll use a different URL for the Quant search page: /quant/search. This will be added to the iframe.
4. We also need to exclude the new search content type from our search page, so we don’t have the search page showing up on the search page! This can be done with adding (NOT content_type:search) in the Filtering field.
5. Add whatever simple Custom CSS styling you’d like. For our example, we’ll change the background color to white to match our site.
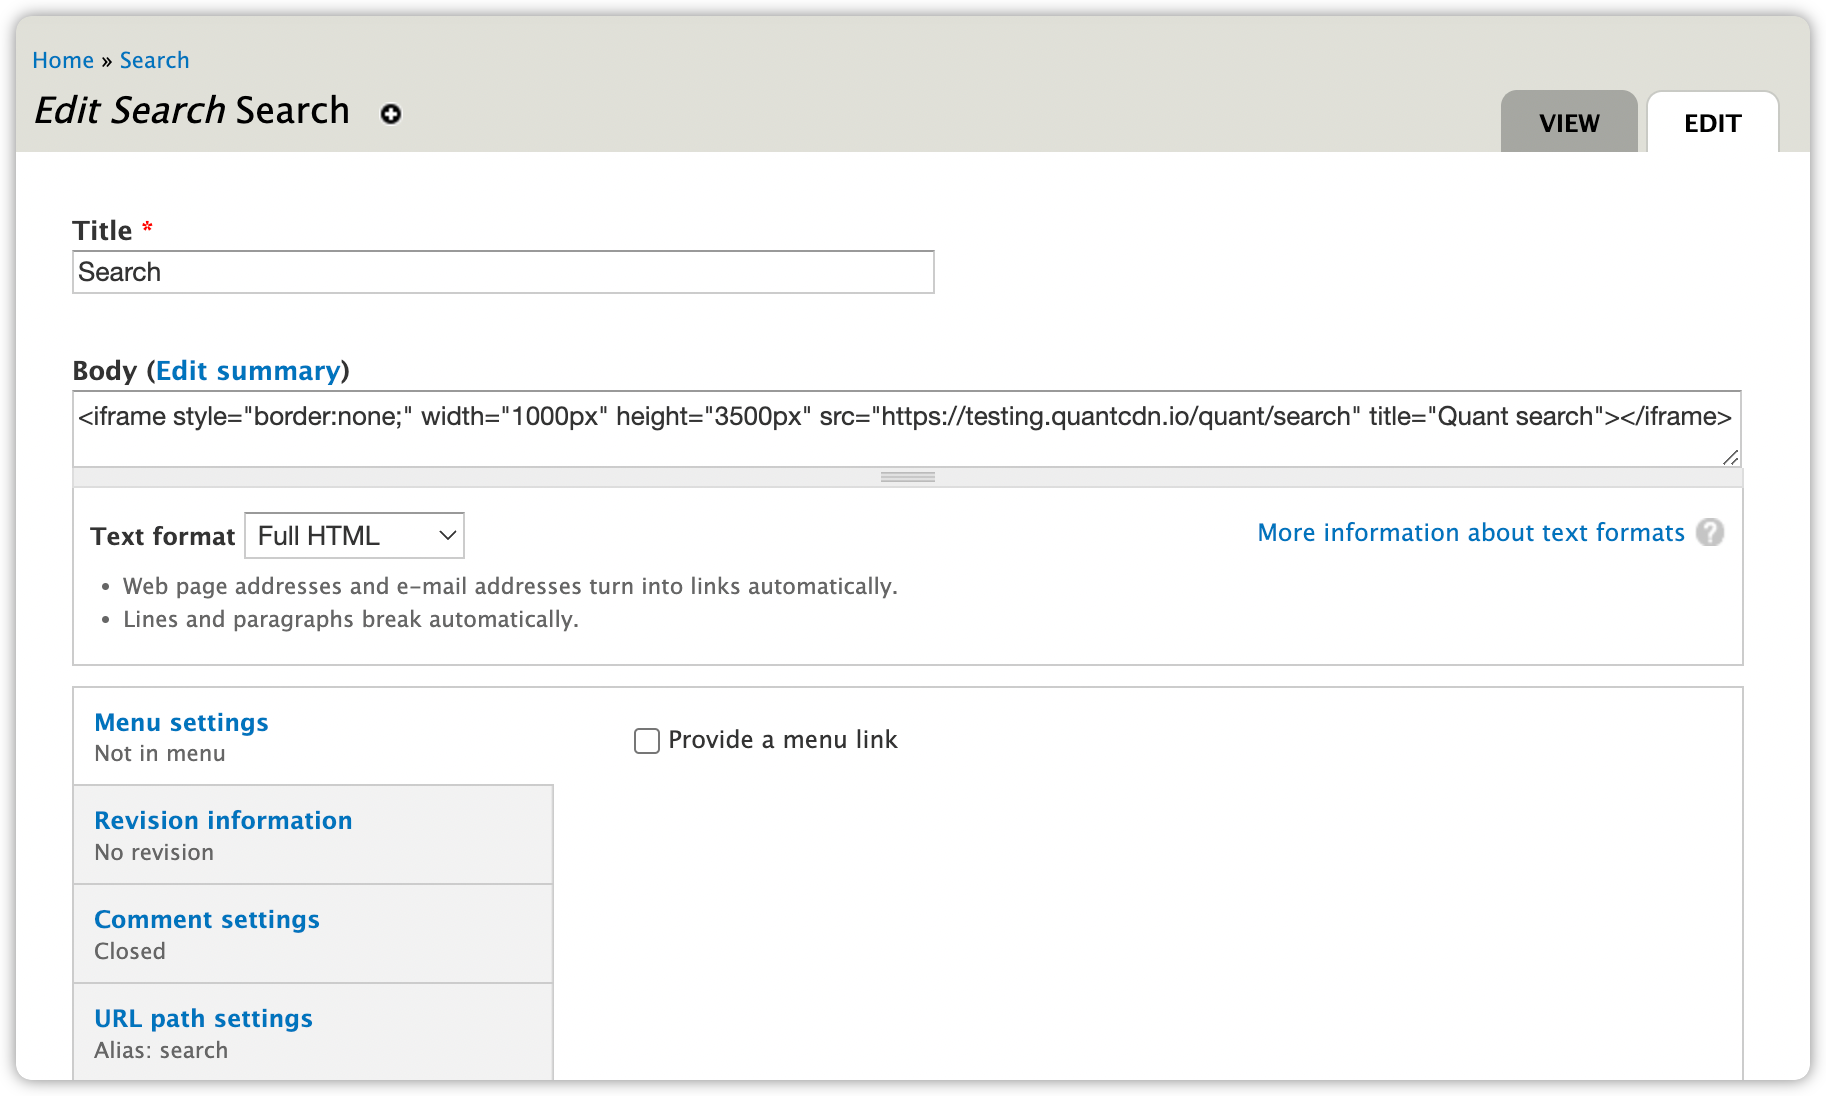
6. Now we just need to create a Drupal page using the search content type. For the title, use Search and, for the path, search.
7. For the body, choose the Full HTML text format. Now, add the iframe markup to include your Quant search page that uses the full path to the Quant search page. For testing, you can use the preview site.
For example:
<iframe height="3500px" src="https://testing.quantcdn.io/quant/search" style="border:none;" title="Quant search" width="1000px"<iframe>
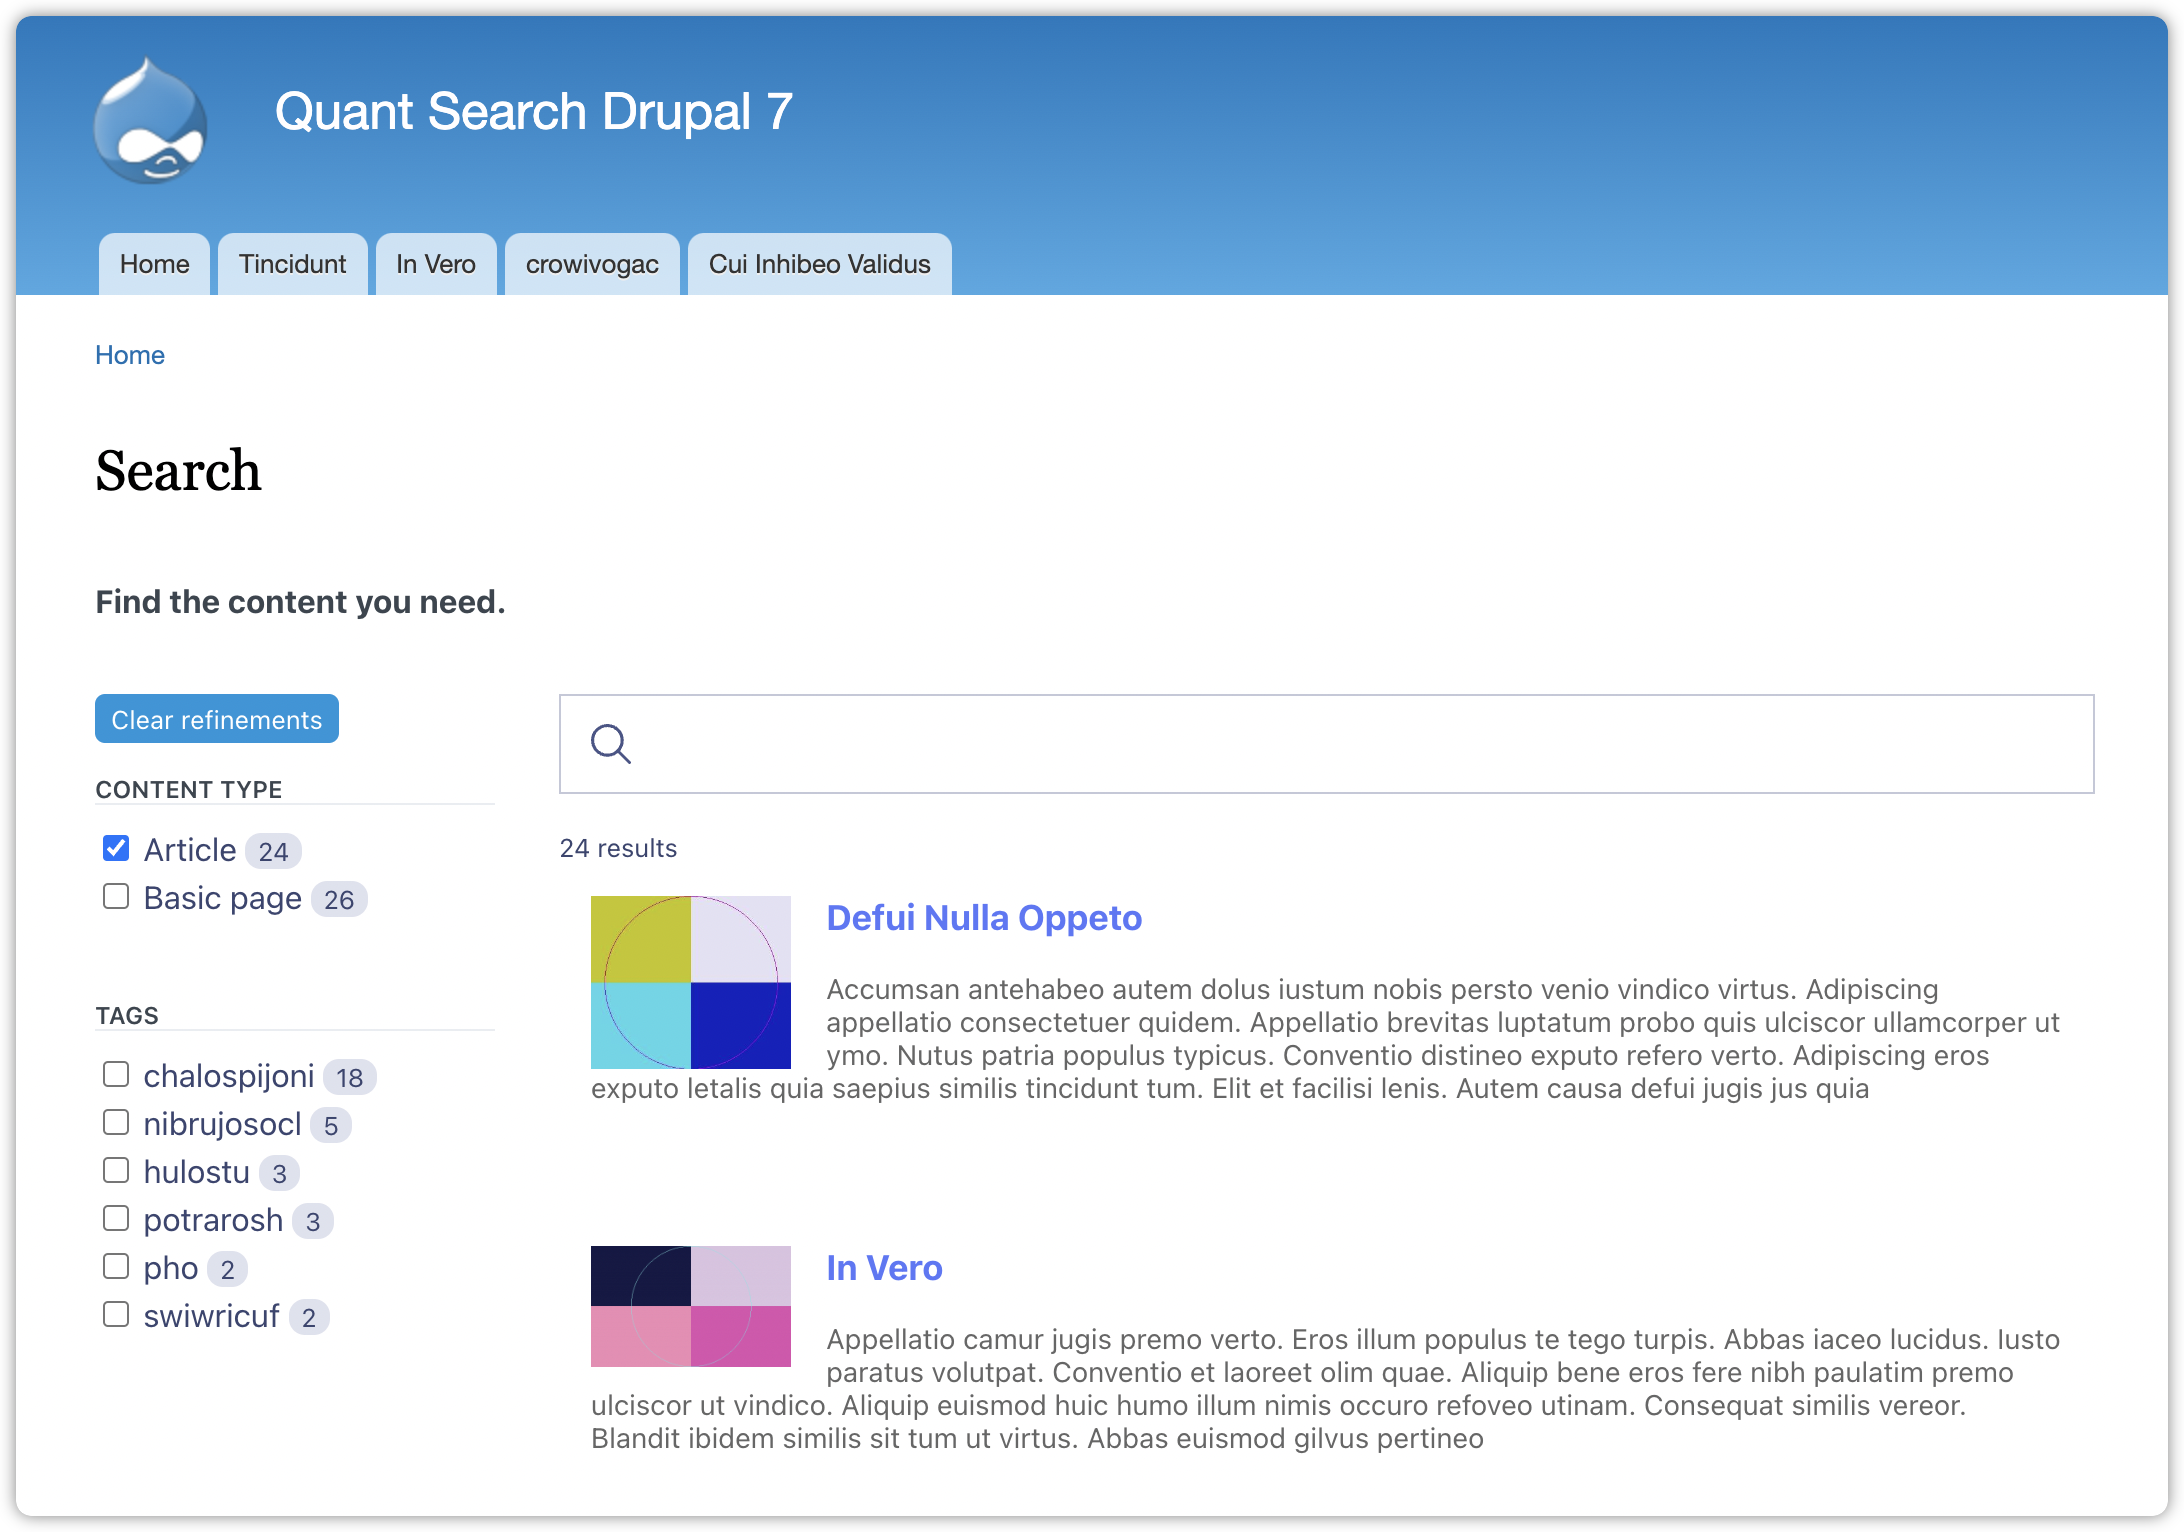
7. The result is a search page that has your header, footer, and sidebars, so it looks like it’s fully part of your site.
Hope you found this tutorial helpful for configuring Quant Search in Drupal 7. There is more Quant documentation on our docs site including our Drupal docs section. If you have questions, want to request features, or have any problems, you can create issues in the QuantCDN Drupal.org project or in the QuantCDN Drupal GitHub repo. You are also welcome to contact us through this site, use the chat feature below, or create a ticket in the support desk.
Quant is a global static edge; a CDN combined with static web hosting. We provide solutions to help make WordPress and Drupal sites static, as well as support for all popular static site generators.

For better security, performance, and hosting costs, learn how to create a static version of your Drupal 7 site using the QuantCDN module in this step-by-step guide.

For better security, performance, and hosting costs, learn how to create a static version of your Drupal 8 or Drupal 9 site using the QuantCDN module in this step-by-step guide.

Quant Search provides an easy way to add faceted Algolia search to your static websites. This step-by-step guide shows you how to add Quant Search to a static version of your site for the best of static and search.
Complete trial with CDN, WAF, Crawler, static integration and support.
Cancel anytime.