· Quant · Tutorials · 7 min read
Deploying to Quant with GitHub Actions
A dive into deploying your application with GitHub actions using the QuantCDN deploy action.
A dive into deploying your application with GitHub actions using the QuantCDN deploy action.
In a recent post, I introduced the Quant CLI tool and covered an example of how your might set up a CircleCI pipeline to deploy your static site build to Quant. As part of the series, I want to explore other cloud-based CI providers, and today I’m going to look at Github Actions. I’ve set up an example repository for this article that deploys a Gatsby application via actions, so you can follow the code over at the example repo.
GitHub Actions is a relatively new CI product offered by GitHub for hosted repositories. There is a large ecosystem of community provided actions to help automate many deployment workflows, from deploying to Azure, AWS or Heroku to updating JIRA tickets. There are many actions to add to your pipelines to complete your workflows, so it makes sense that we look to provide an action to make deploying to Quant as easy as possible.
Secure your access token
Before we begin with the action, we should make sure we store the quant token in a secure location that makes it accessible to our workflows, but not accessible to contributors. You will need administrative access to the repository to add secrets, under the settings page for your repository you will see secrets. This allows you to add your Quant API token and have it available to your deploy workflow. By default, the token will not be shared with forks of your repository - which makes this the recommended way to store your token and automate the deployment.
In the provided examples, when you see secrets.QUANT_TOKEN, this is the variable name we have given the deploy key, so just replace QUANT_TOKEN with the name you give the the variable and it should be interchangeable.
Another thing to note with secrets, in my testing so far, anything accessed with secrets. is obfuscated in the actions output, for example using the action you will see:
Run quantcdn/deploy-action@v2
with:
  customer: ***
  project: ***
  token: ***
  dir: build
You can read more about GitHub Actions and secrets on GitHub’s docs pages, very helpful stuff!
Using the community Action
An action will let you control the entire workflow and will let the Quant repository manage how Quant is installed and run. This leaves application building up to you and deployments up to Quant. The deployment step will look like:
- name: Deploy to QuantCDN
  uses: quantcdn/deploy-action@v2
  with:
    customer: ${{ secrets.QUANT_CUSTOMER }}
    project: ${{ secrets.QUANT_PROJECT }}
    token: ${{ secrets.QUANT_TOKEN }}
    dir: build
That’s it! With that added, the Quant action will be able to pick up your build artifact and will be able to deploy your assets to Quant.
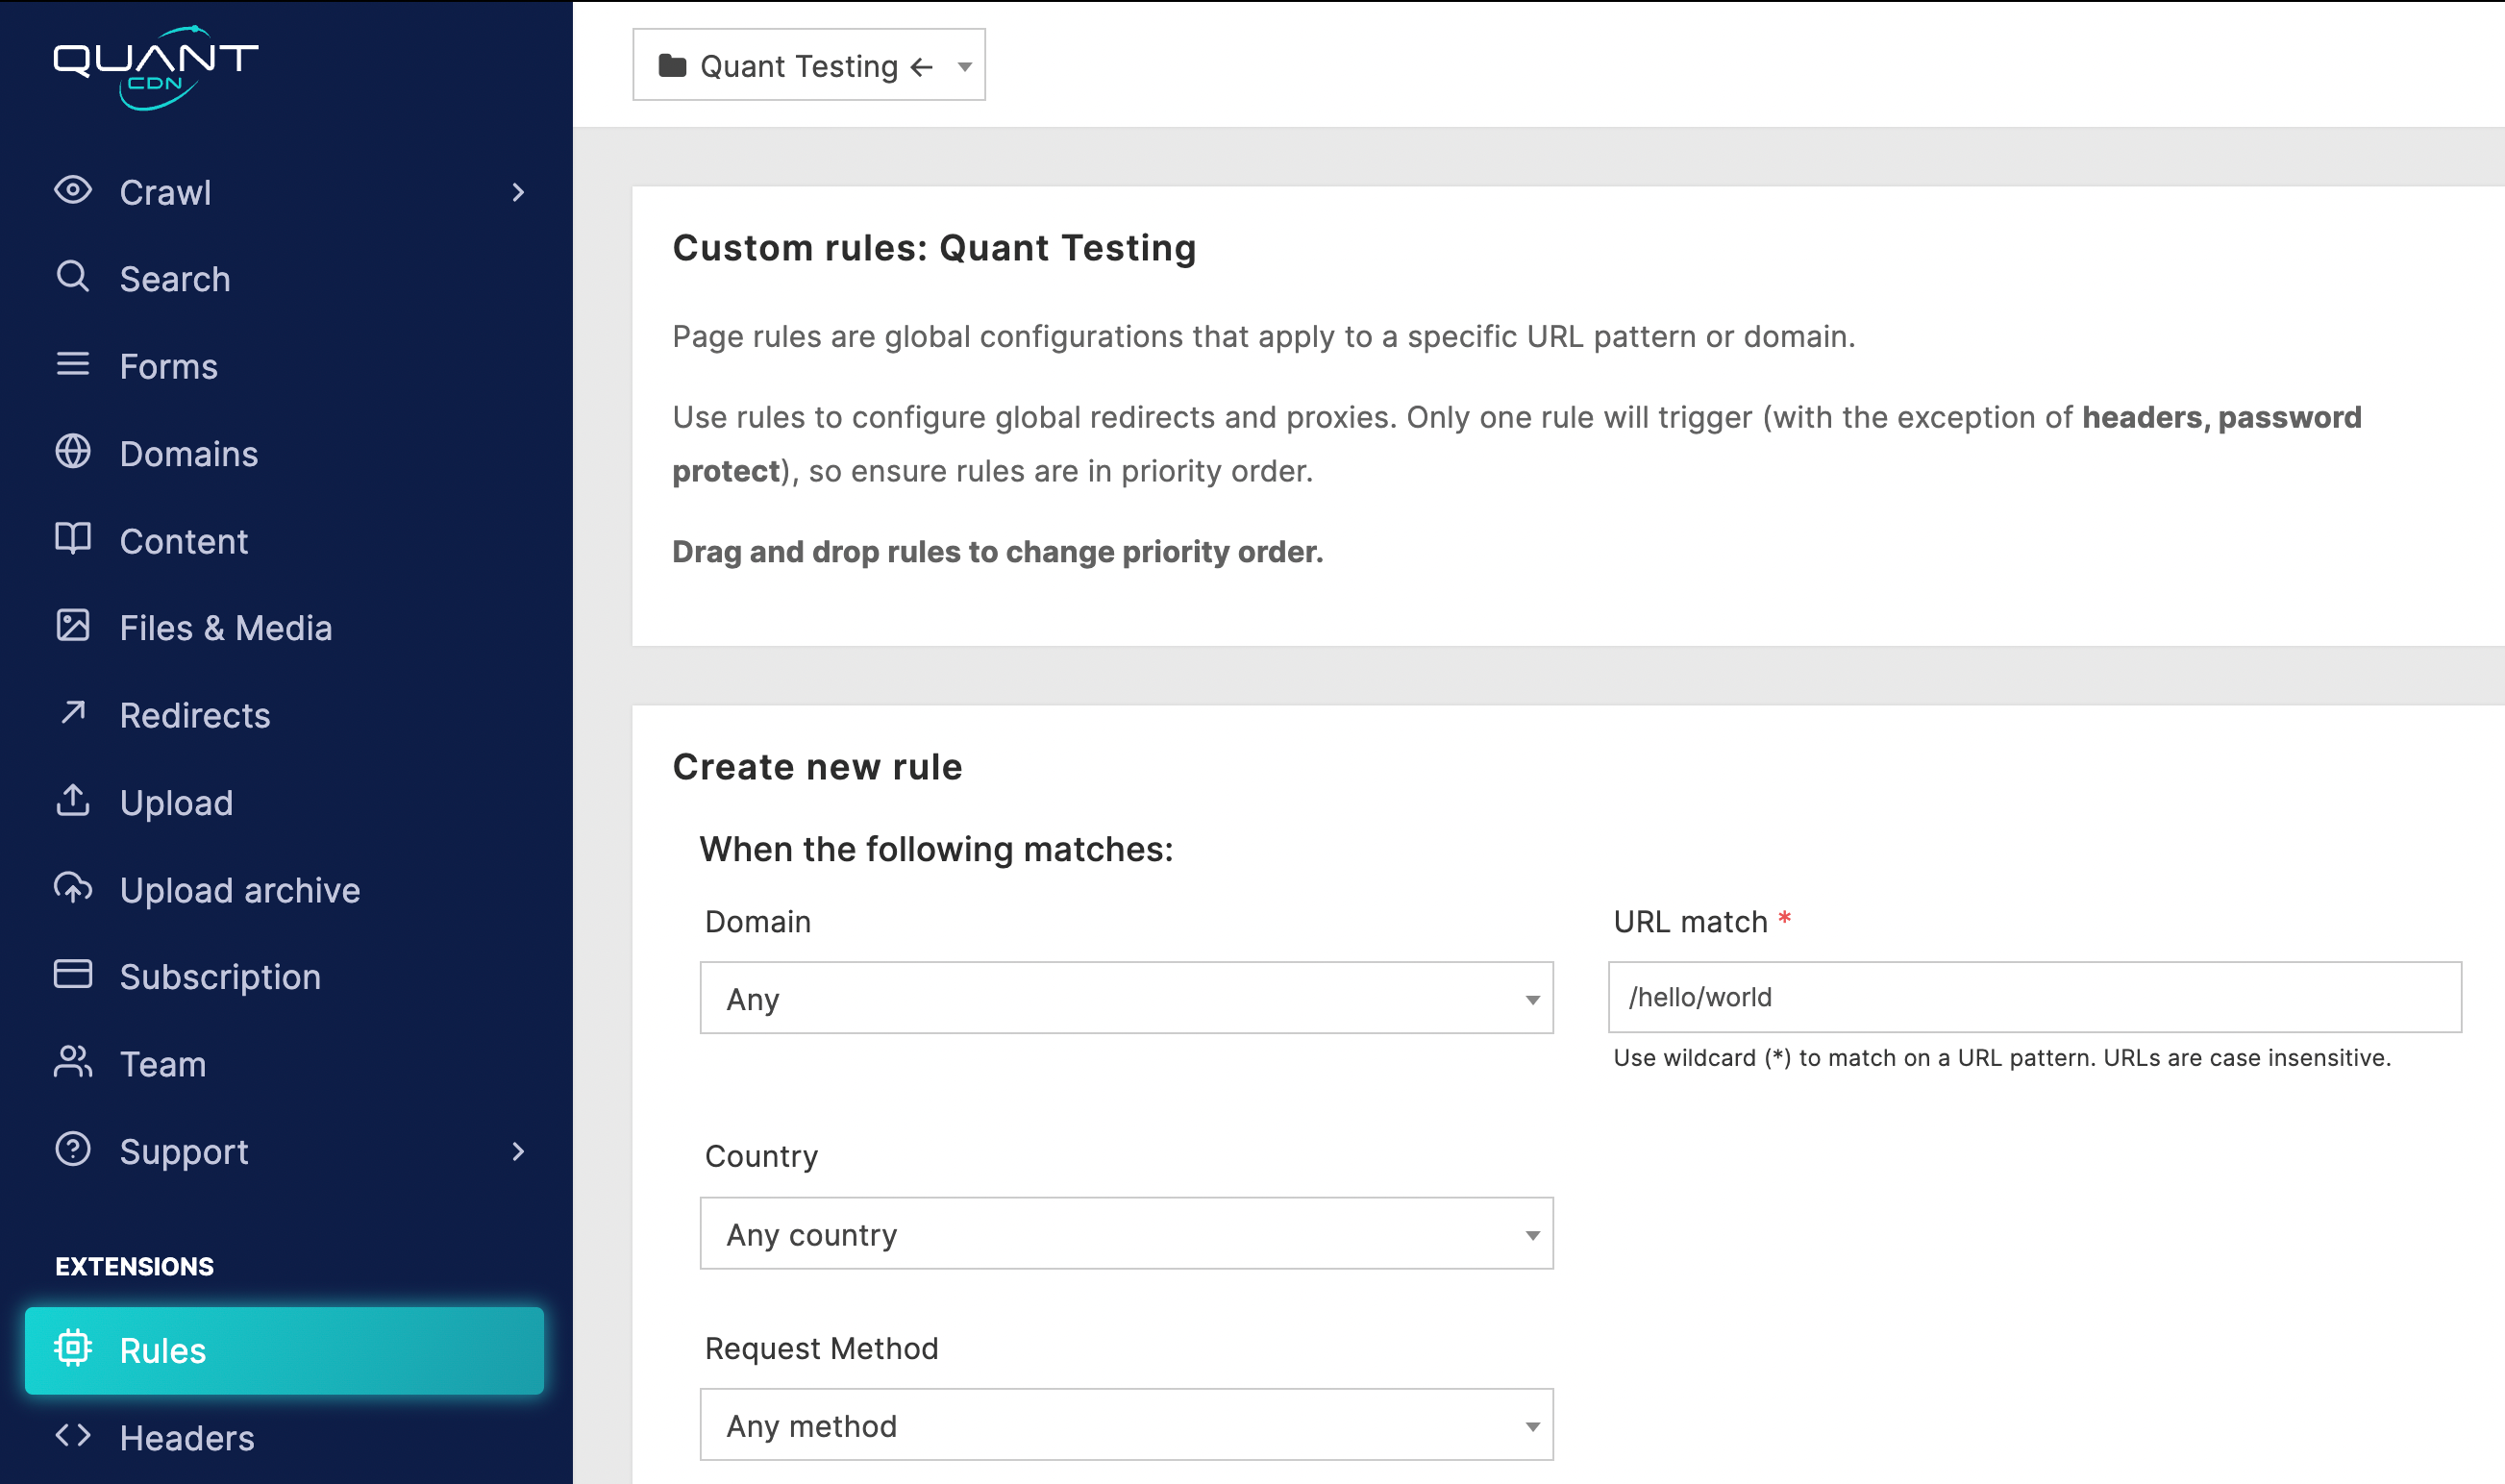
That made for a pretty short post :) so let’s break down the action parameters and make sure we’re all on the same page. All the Quant parameters can be found on the projects dashboard in the integrations section.
customer: This is the Quant customer (not your user account) the organization that the project belongs toproject: This is the machine name of the project that you want to deploytoken: This should be added as a repository secret and referenced heredir: The build directory for your application - the Quant CLI tool will deploy all files that it finds in the specified directory
GitHub Actions can help deploy your project to Quant with ease. If GitHub Actions aren’t available to your workflow, read on for some alternative ways to interface directly with the CLI tool.
Optional: Cache the last deployment status for faster deployments
The deployment action supports outputting a revision log, which tracks the md5 hash of all the built artefacts that end up being deployed to Quant. If an existing revision log is found, then the deployment process will skip any assets that already have a matching md5 for content published in the Quant edge.
This can speed up deployment times considerably, especially if your built output contains large assets.
To enable this feature, first add the revision-log option to your deploy-action stage, and ensure the file is cached in actions as follows:
name: Deploy to QuantCDN

on:
  push:
    branches: [main]

jobs:
  deploy:
    runs-on: ubuntu-latest
    steps:
      - uses: actions/checkout@v4

      - name: Setup Node.js
        uses: actions/setup-node@v4
        with:
          node-version: '20'
          cache: 'npm'

      - name: Install dependencies
        run: npm ci

      - name: Build
        run: npm run build

      # Cache the revision log for faster subsequent deployments
      - name: Cache Quant revision log
        uses: actions/cache@v4
        with:
          path: .quant-revision-log
          key: quant-revision-${{ github.ref_name }}
          restore-keys: |
            quant-revision-${{ github.ref_name }}
            quant-revision-

      - name: Deploy to QuantCDN
        uses: quantcdn/deploy-action@v2
        with:
          customer: ${{ secrets.QUANT_CUSTOMER }}
          project: ${{ secrets.QUANT_PROJECT }}
          token: ${{ secrets.QUANT_TOKEN }}
          dir: dist
          revision-log: .quant-revision-log
That’s all there is to it! When you run the build pipeline again you will see the deployment will only deploy the delta between the previous build, leading to much faster deploy times!
Separate caches for development and production
If you deploy to different Quant projects for staging and production, use branch-specific cache keys to keep revision logs separate:
name: Deploy to QuantCDN

on:
  push:
    branches: [main, develop]

jobs:
  deploy:
    runs-on: ubuntu-latest
    steps:
      - uses: actions/checkout@v4

      - name: Setup Node.js
        uses: actions/setup-node@v4
        with:
          node-version: '20'
          cache: 'npm'

      - name: Install and build
        run: |
          npm ci
          npm run build

      # Branch-specific cache ensures dev/prod revision logs don't conflict
      - name: Cache Quant revision log
        uses: actions/cache@v4
        with:
          path: .quant-revision-log
          key: quant-revision-${{ github.ref_name }}-${{ hashFiles('dist/**') }}
          restore-keys: |
            quant-revision-${{ github.ref_name }}-
            quant-revision-

      - name: Deploy to QuantCDN (Production)
        if: github.ref == 'refs/heads/main'
        uses: quantcdn/deploy-action@v2
        with:
          customer: ${{ secrets.QUANT_CUSTOMER }}
          project: ${{ secrets.QUANT_PROJECT_PROD }}
          token: ${{ secrets.QUANT_TOKEN }}
          dir: dist
          revision-log: .quant-revision-log

      - name: Deploy to QuantCDN (Staging)
        if: github.ref == 'refs/heads/develop'
        uses: quantcdn/deploy-action@v2
        with:
          customer: ${{ secrets.QUANT_CUSTOMER }}
          project: ${{ secrets.QUANT_PROJECT_DEV }}
          token: ${{ secrets.QUANT_TOKEN }}
          dir: dist
          revision-log: .quant-revision-log
Alternatives
The Quant CLI tool is provided in two formats, a docker image and an npm package. Both of these options provide flexibility with how you define your workflows and, while we provide a standard action, there a number of reasons that this option might be not available to your workflow. Let’s go through the other options to give you full control over the deployment process.
Adding Quant as a dependency
The Quant CLI tool can be added as a dependency with npm. This will install the tool locally and make the packaged script available to you, so you can create npm scripts to execute operations.
First, you’ll need to add the dependency; this can be either type of dependency as long as it’s installed in the action.
npm install --save-dev @quantcdn/quant-cliYou would then create an npm script to handle the deployment. Add the following to your package.json:
{
  "scripts": {
    "quant": "quant"
  }
}
You can then use npm run quant with the necessary parameters and options to deploy your application which might look like:
- name: Deploy to Quant
  run: npm run quant deploy
  env:
    QUANT_CUSTOMER: ${{ secrets.QUANT_CUSTOMER }}
    QUANT_PROJECT: ${{ secrets.QUANT_PROJECT }}
    QUANT_TOKEN: ${{ secrets.QUANT_TOKEN }}
Using the Quant CLI container
The Quant CLI container is available from Docker Hub and is based on node:14, as a result it makes a decent runtime to build Node applications. You can use this container to perform your whole workflow similarly to using the node container directly and at the end run quant deploy. For example:
jobs:
  deploy:
    runs-on: ubuntu-latest
    container:
      image: quantcdn/cli:latest
    steps:
      - uses: actions/checkout@v4
      - run: npm ci
      - run: npm run build
      - run: quant deploy -d dist
        env:
          QUANT_CUSTOMER: ${{ secrets.QUANT_CUSTOMER }}
          QUANT_PROJECT: ${{ secrets.QUANT_PROJECT }}
          QUANT_TOKEN: ${{ secrets.QUANT_TOKEN }}
Getting creative with uses
The Github syntax is pretty accommodating. There are ways that you can run the image directly via the docker daemon in a step. This is a little undocumented and implementation may change as the product evolves, so I would definitely recommend using one of the above methods - but if you’re looking for a quick way to get in and test the workflow you can do something like:
- name: Deploy with Docker
  uses: docker://quantcdn/cli:latest
  with:
    args: deploy -d dist
  env:
    QUANT_CUSTOMER: ${{ secrets.QUANT_CUSTOMER }}
    QUANT_PROJECT: ${{ secrets.QUANT_PROJECT }}
    QUANT_TOKEN: ${{ secrets.QUANT_TOKEN }}
When the runner executes the step it constructs a docker command that looks like:
docker run --rm \
  -e QUANT_CUSTOMER=*** \
  -e QUANT_PROJECT=*** \
  -e QUANT_TOKEN=*** \
  -v $(pwd):/workspace \
  -w /workspace \
  quantcdn/cli:latest deploy -d dist
Hopefully this has helped you consider how you can automate your deployments to Quant and provides another example of how you can do that. Stay tuned for the next post in the series!